
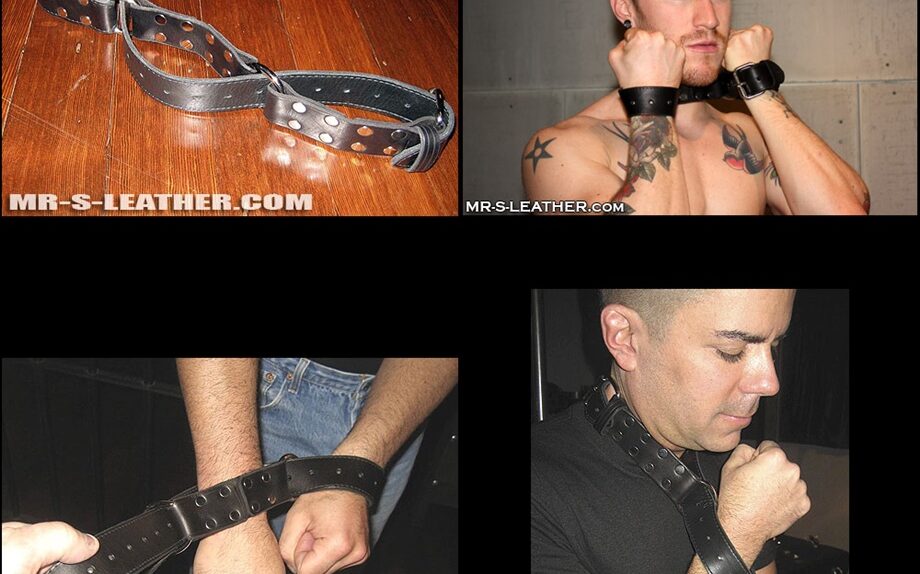
Last week I talked about the Hobble Belt, and now I will give an illustrated “how to” guide to achieve ties.
First off, we’ll talk briefly about the design of these belts, which will come in handy for following the actual ties. I have two belts, and I’m showing both side by side, so you can notice something important: one side is a more polished, finished side, and the other is a fuzzy, dull, unfinished side.
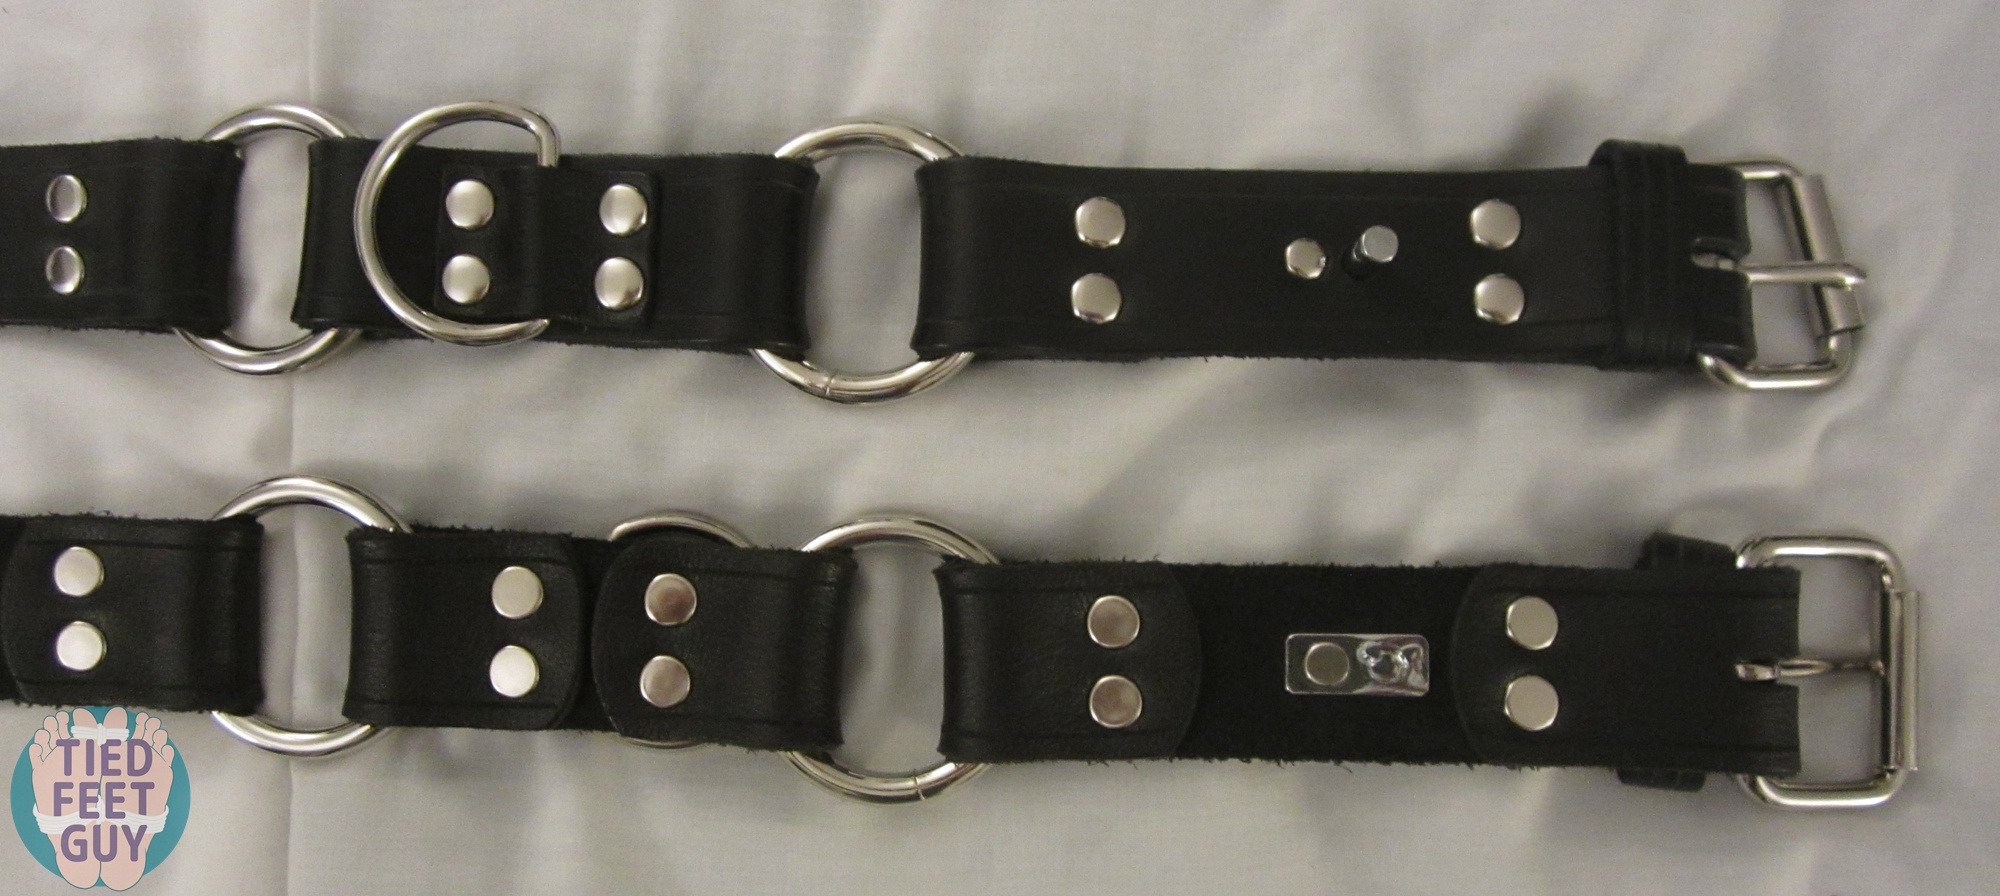
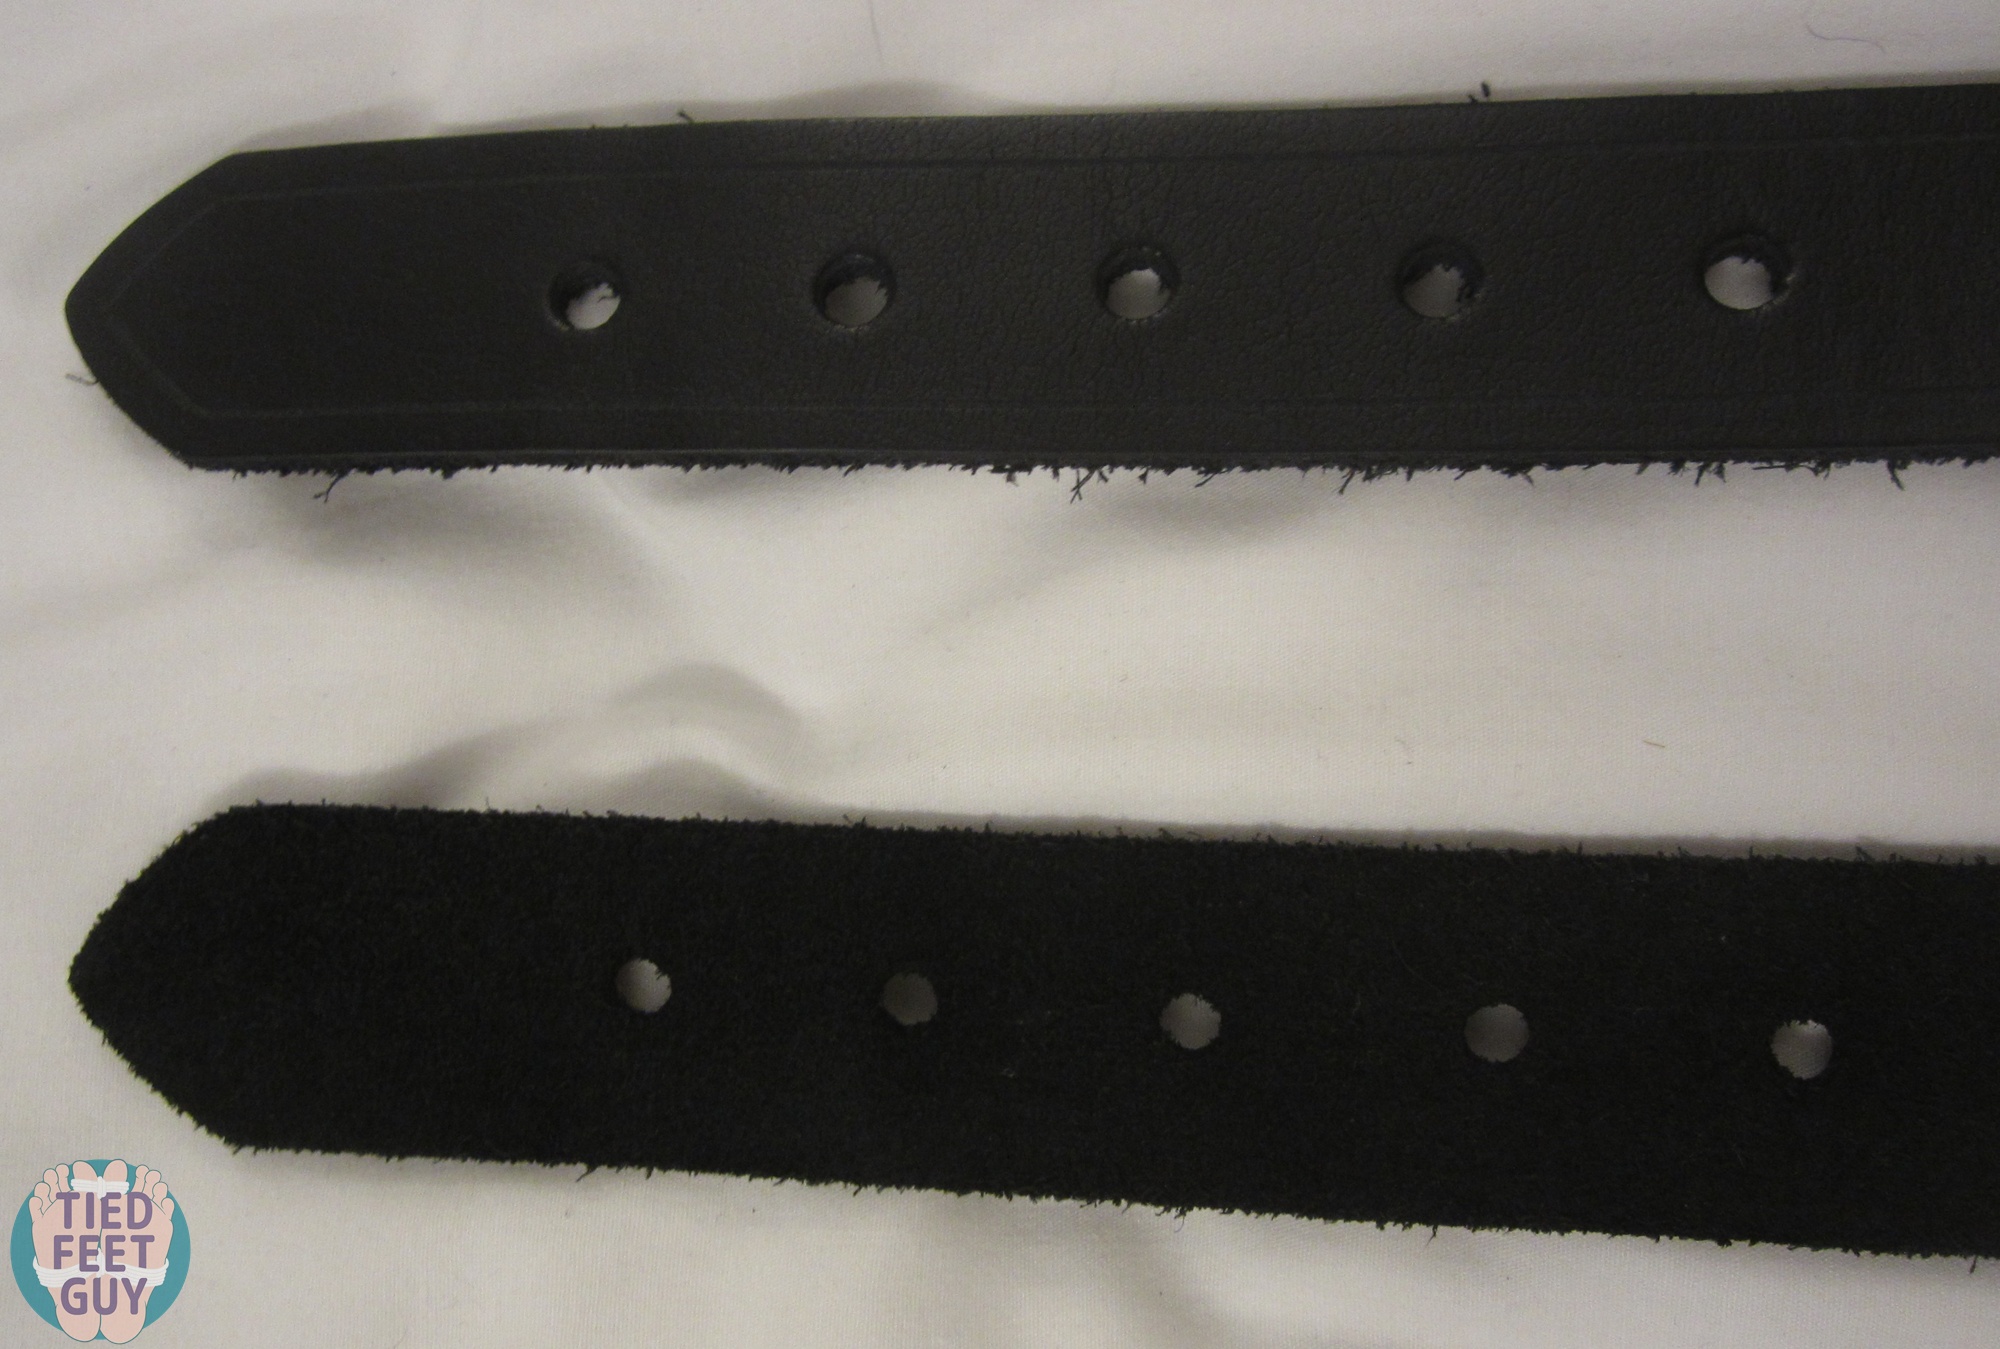
For some ties, you will need to start finished side up (which also has the buckle side up, and an extra D ring between the two other main rings face up), and for others, it will start unfinished side up (which will have the buckle facing down, as well as the D ring). I know it’s a bit hard to see in the pics, but you can definitely spot when the buckle and D ring are up or down (in case you end up with a hobble belt that is finished on both sides). But I will use the terms finished/unfinished to differentiate them.
We’ll start with the 2-column tie, which means you will be able to bind any two columns together. That will usually mean two wrists or two ankles, but it can also be a chair handle to a wrist. Follow the steps below, starting with creating a loop through the first ring with the unfinished side facing outwards.
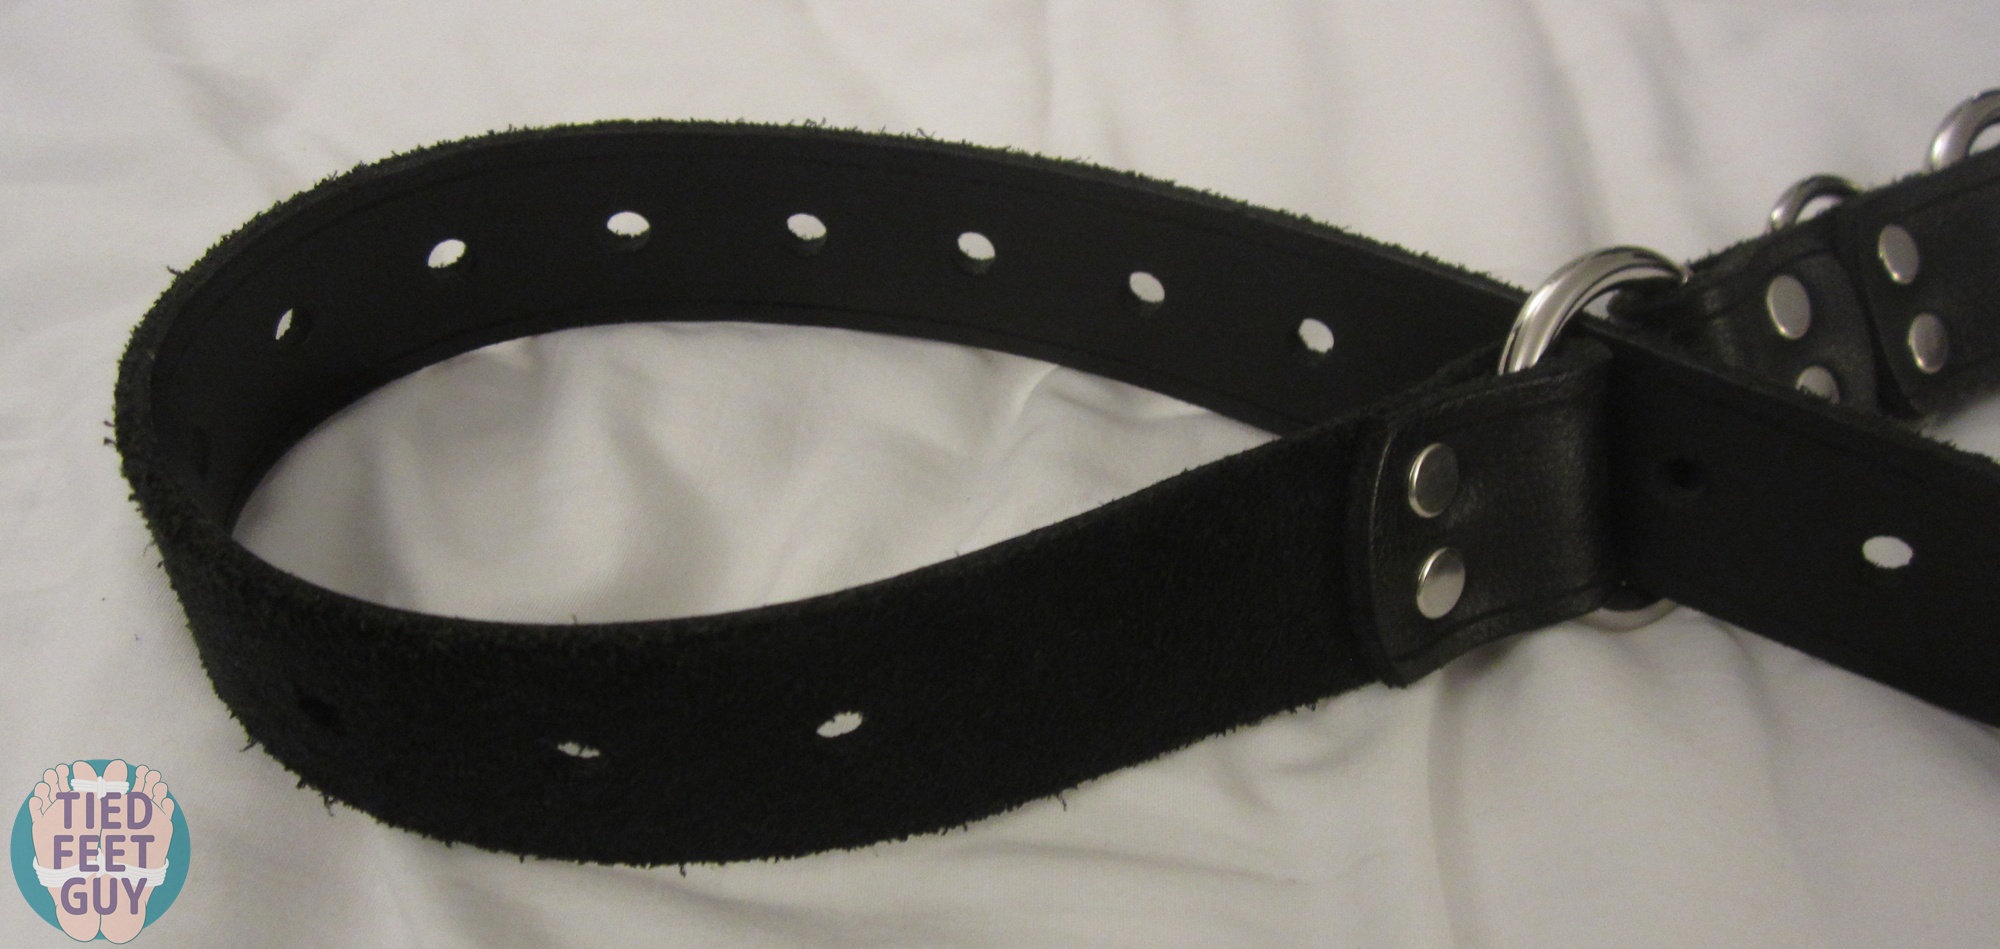
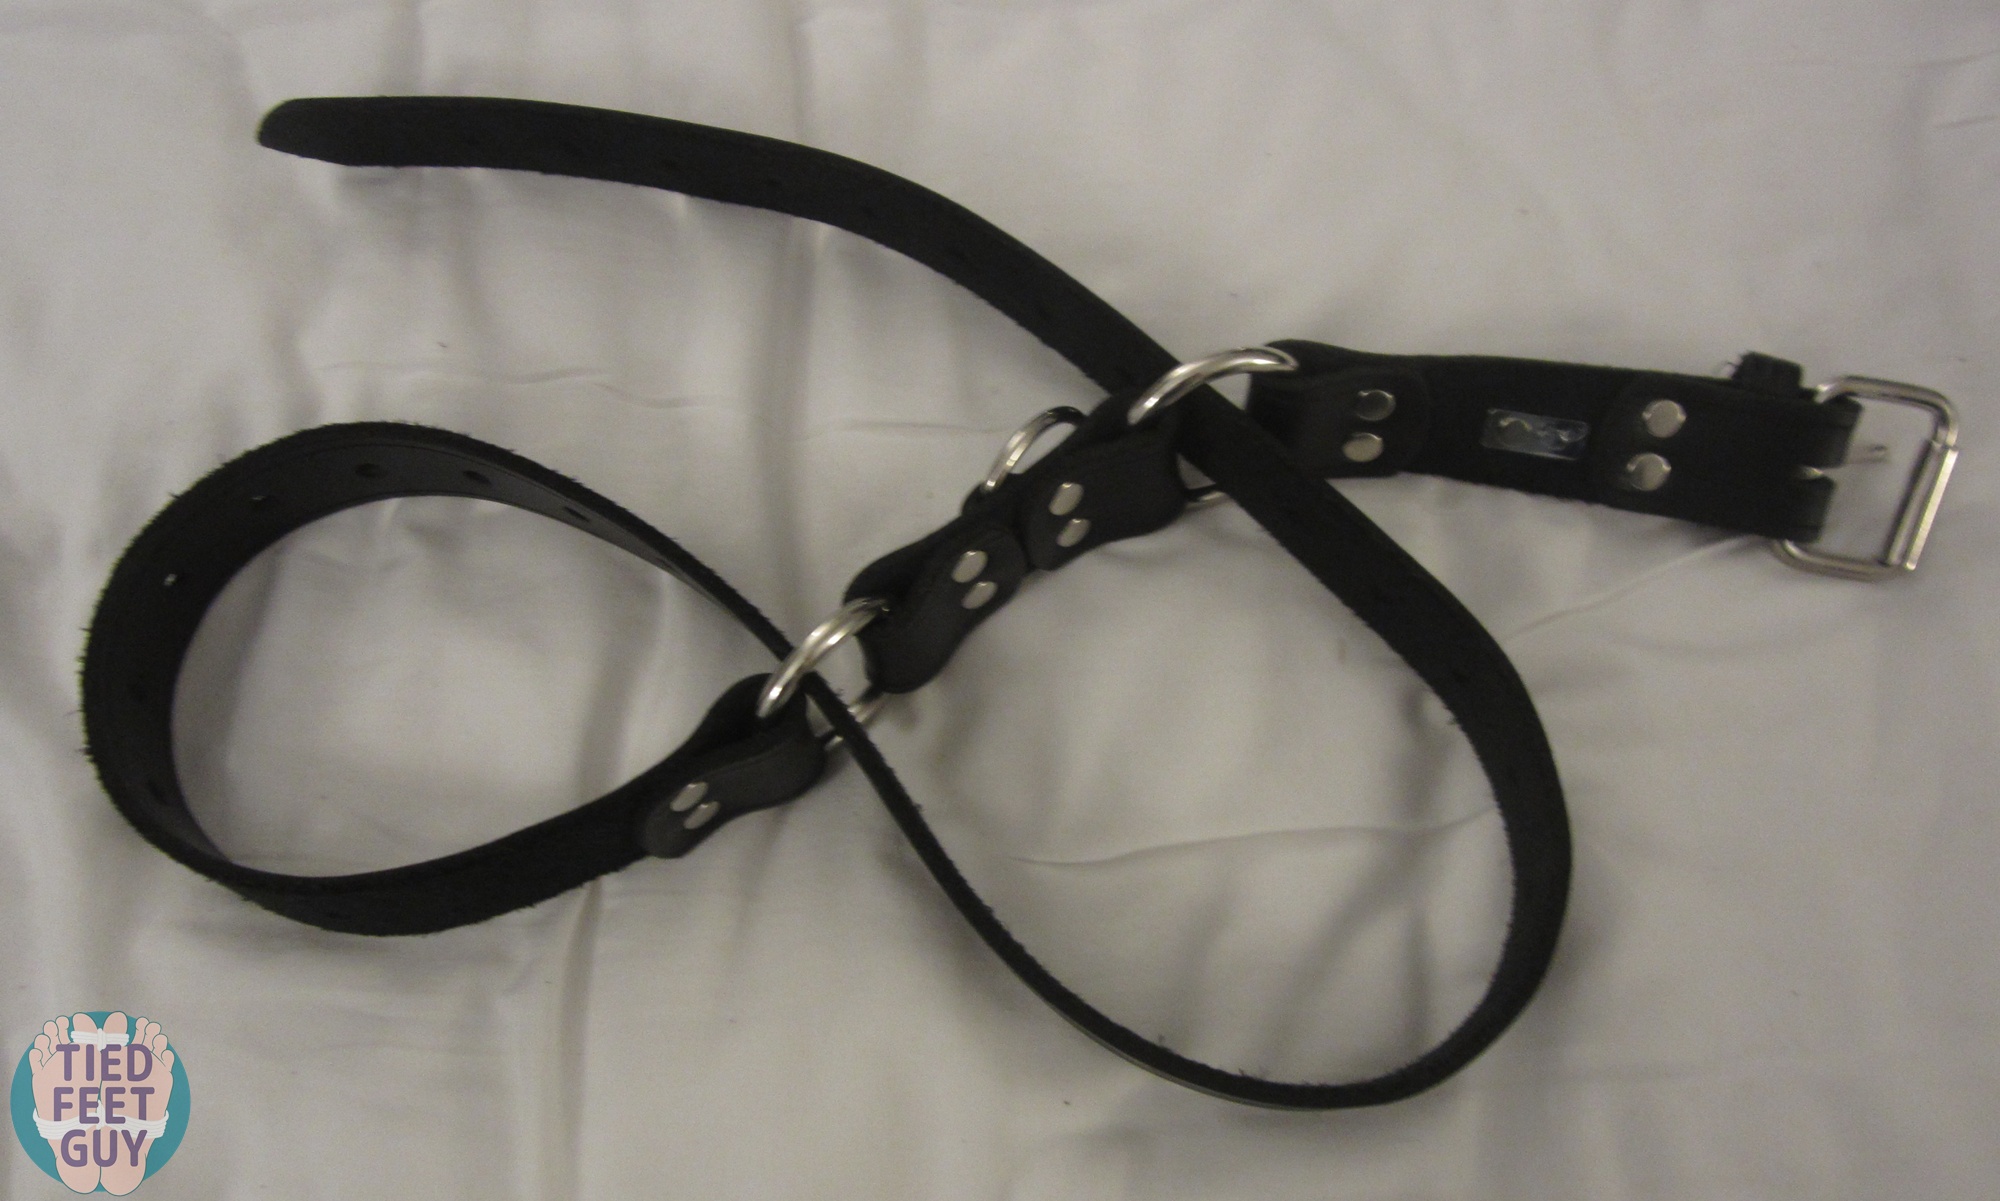
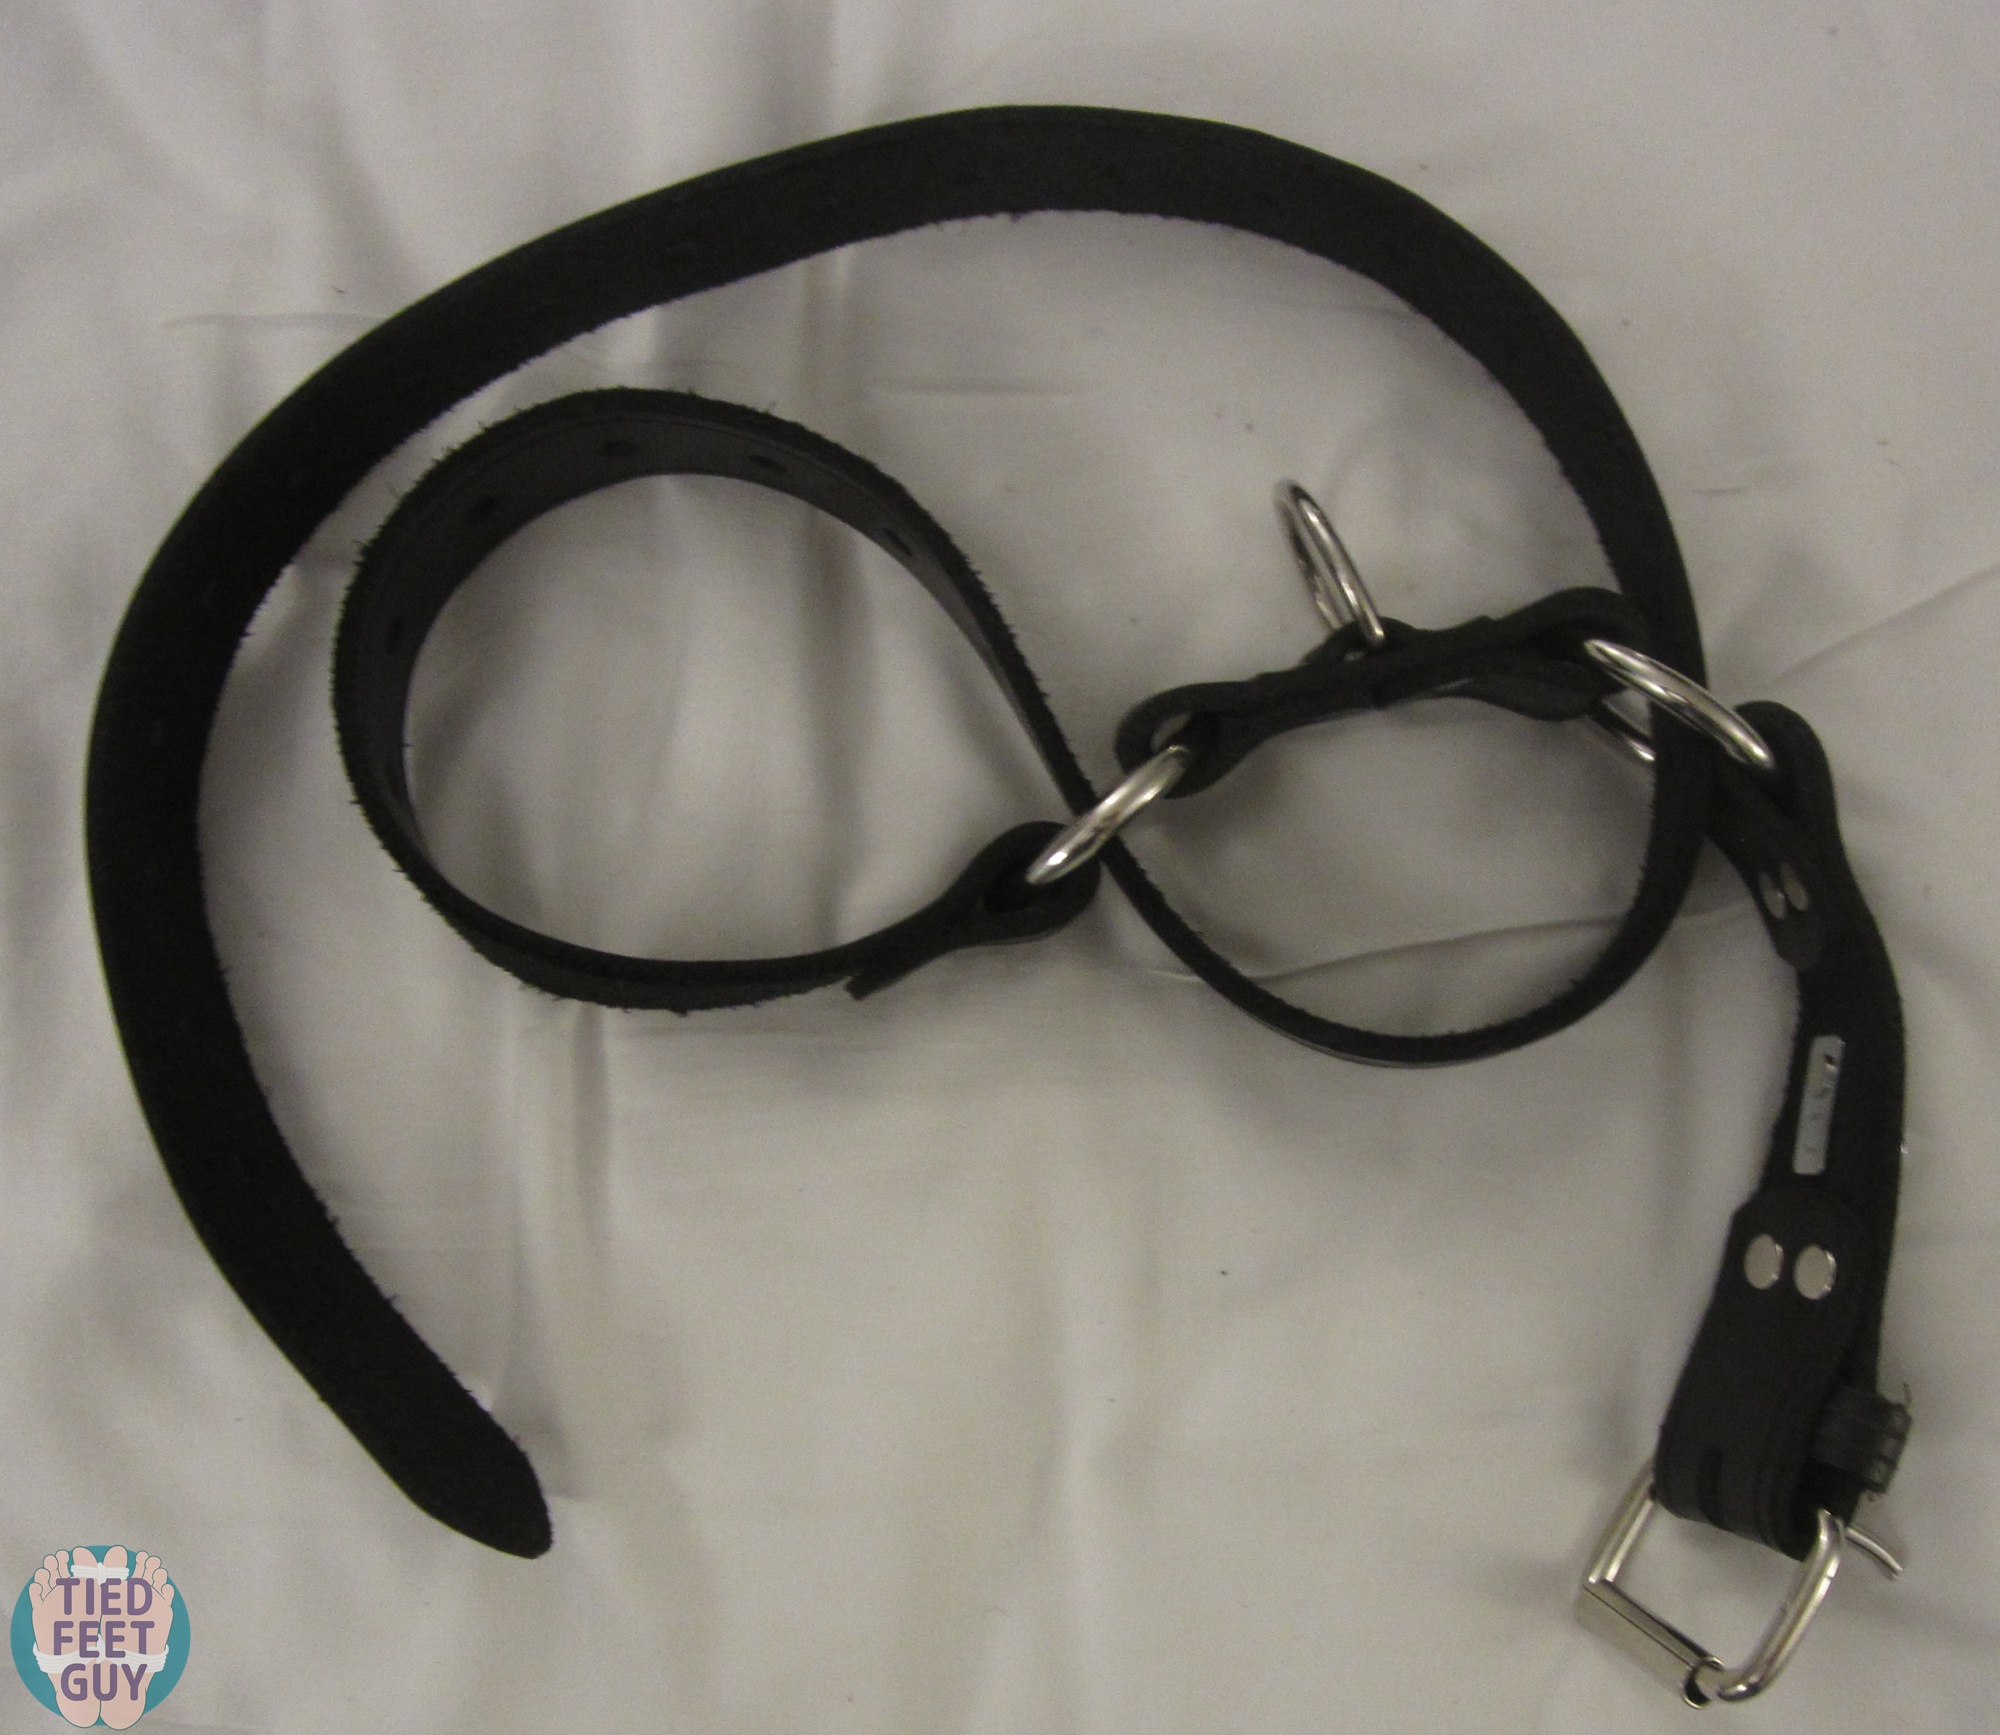
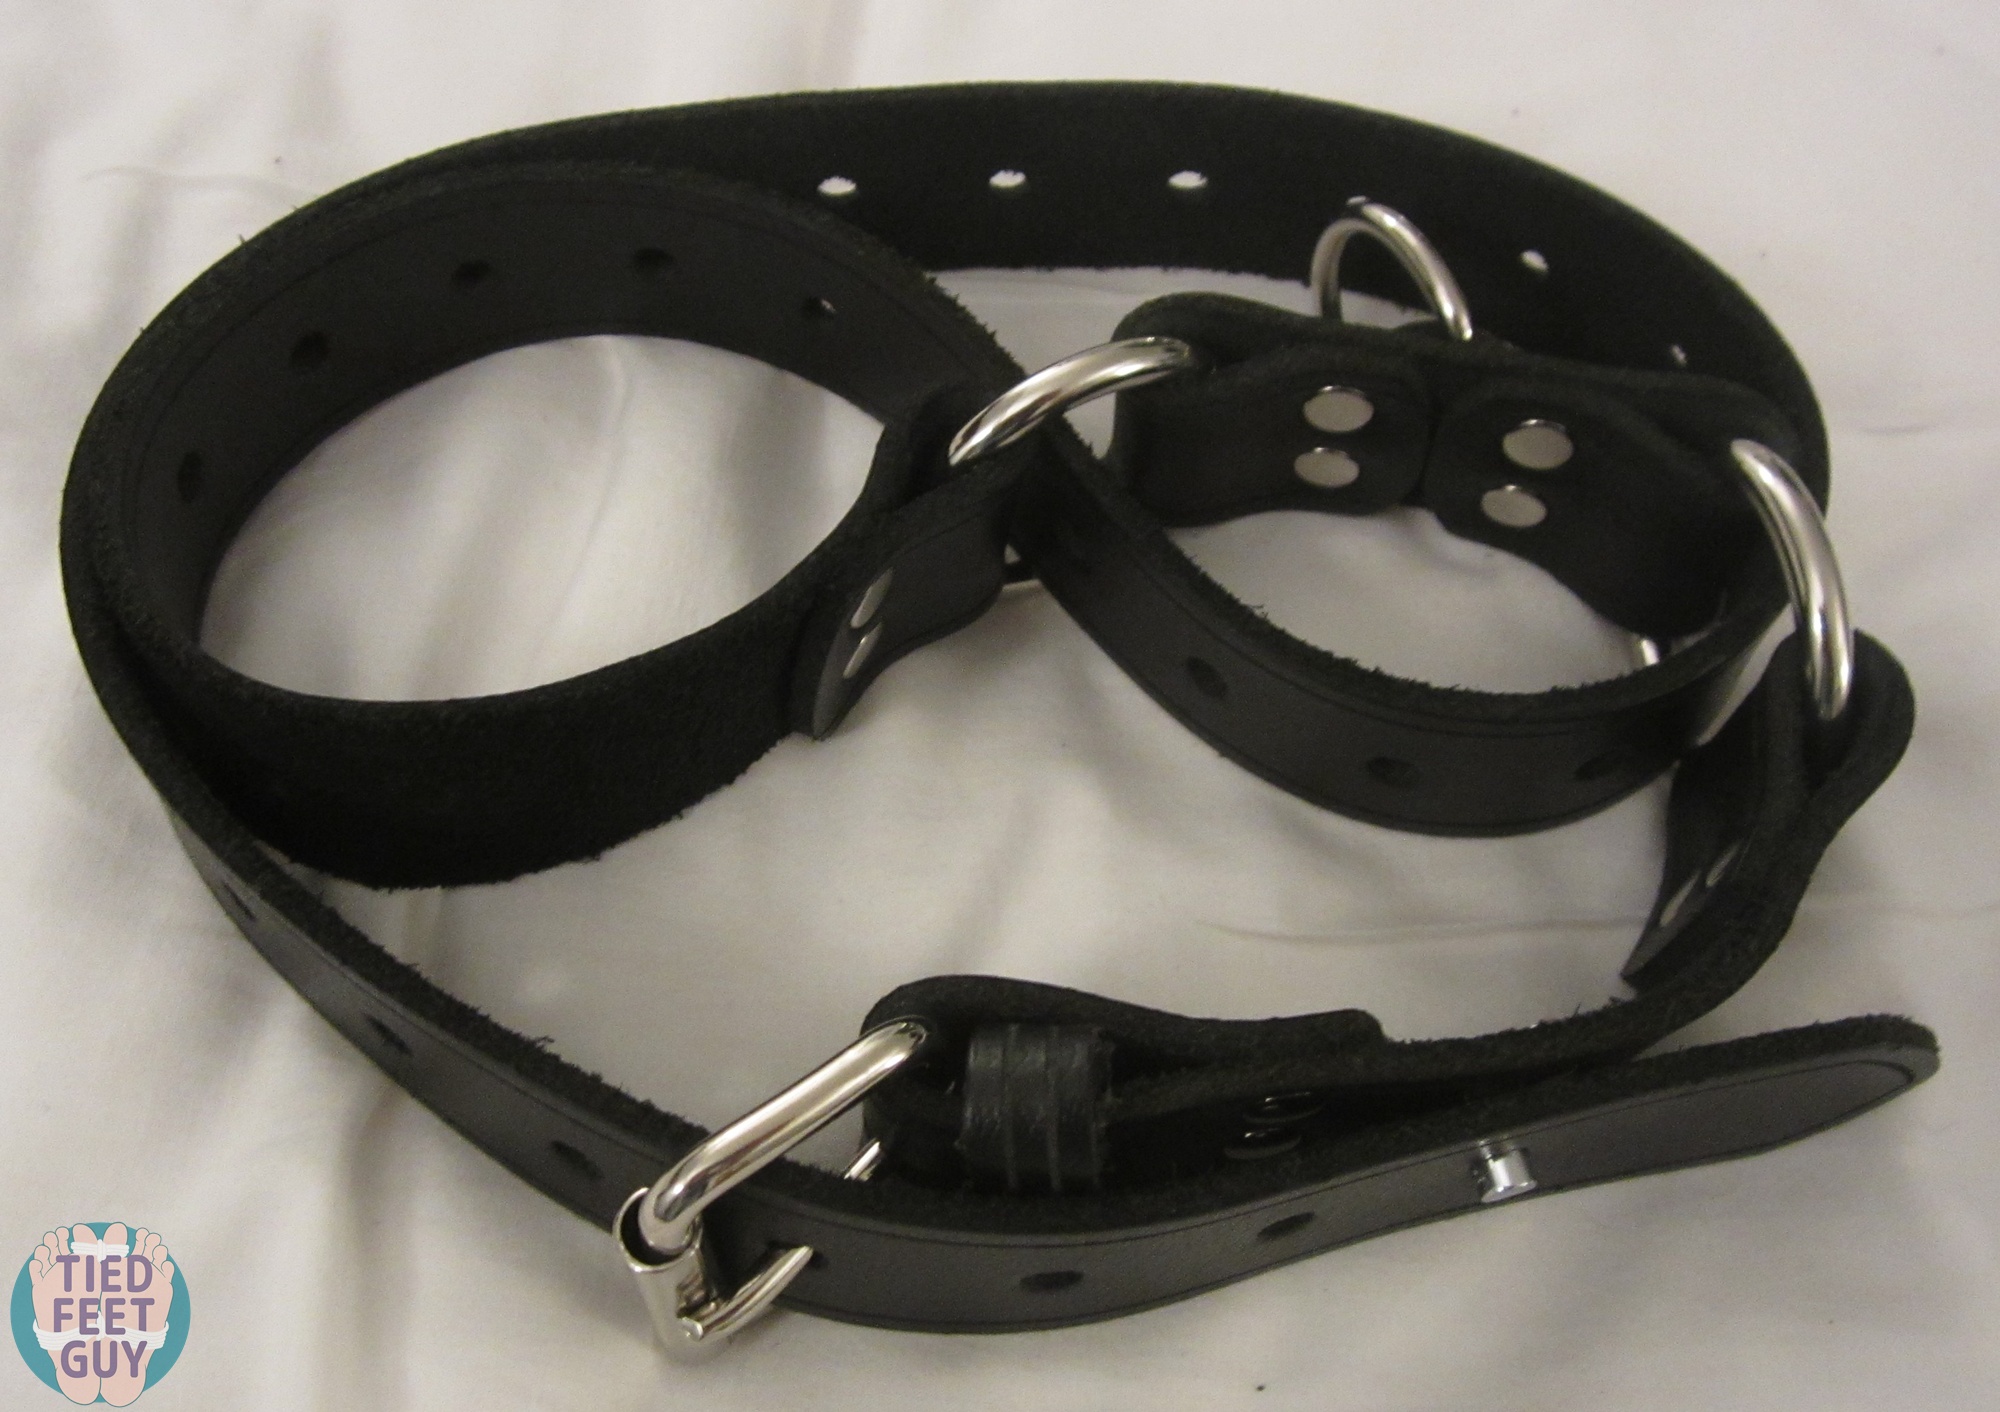
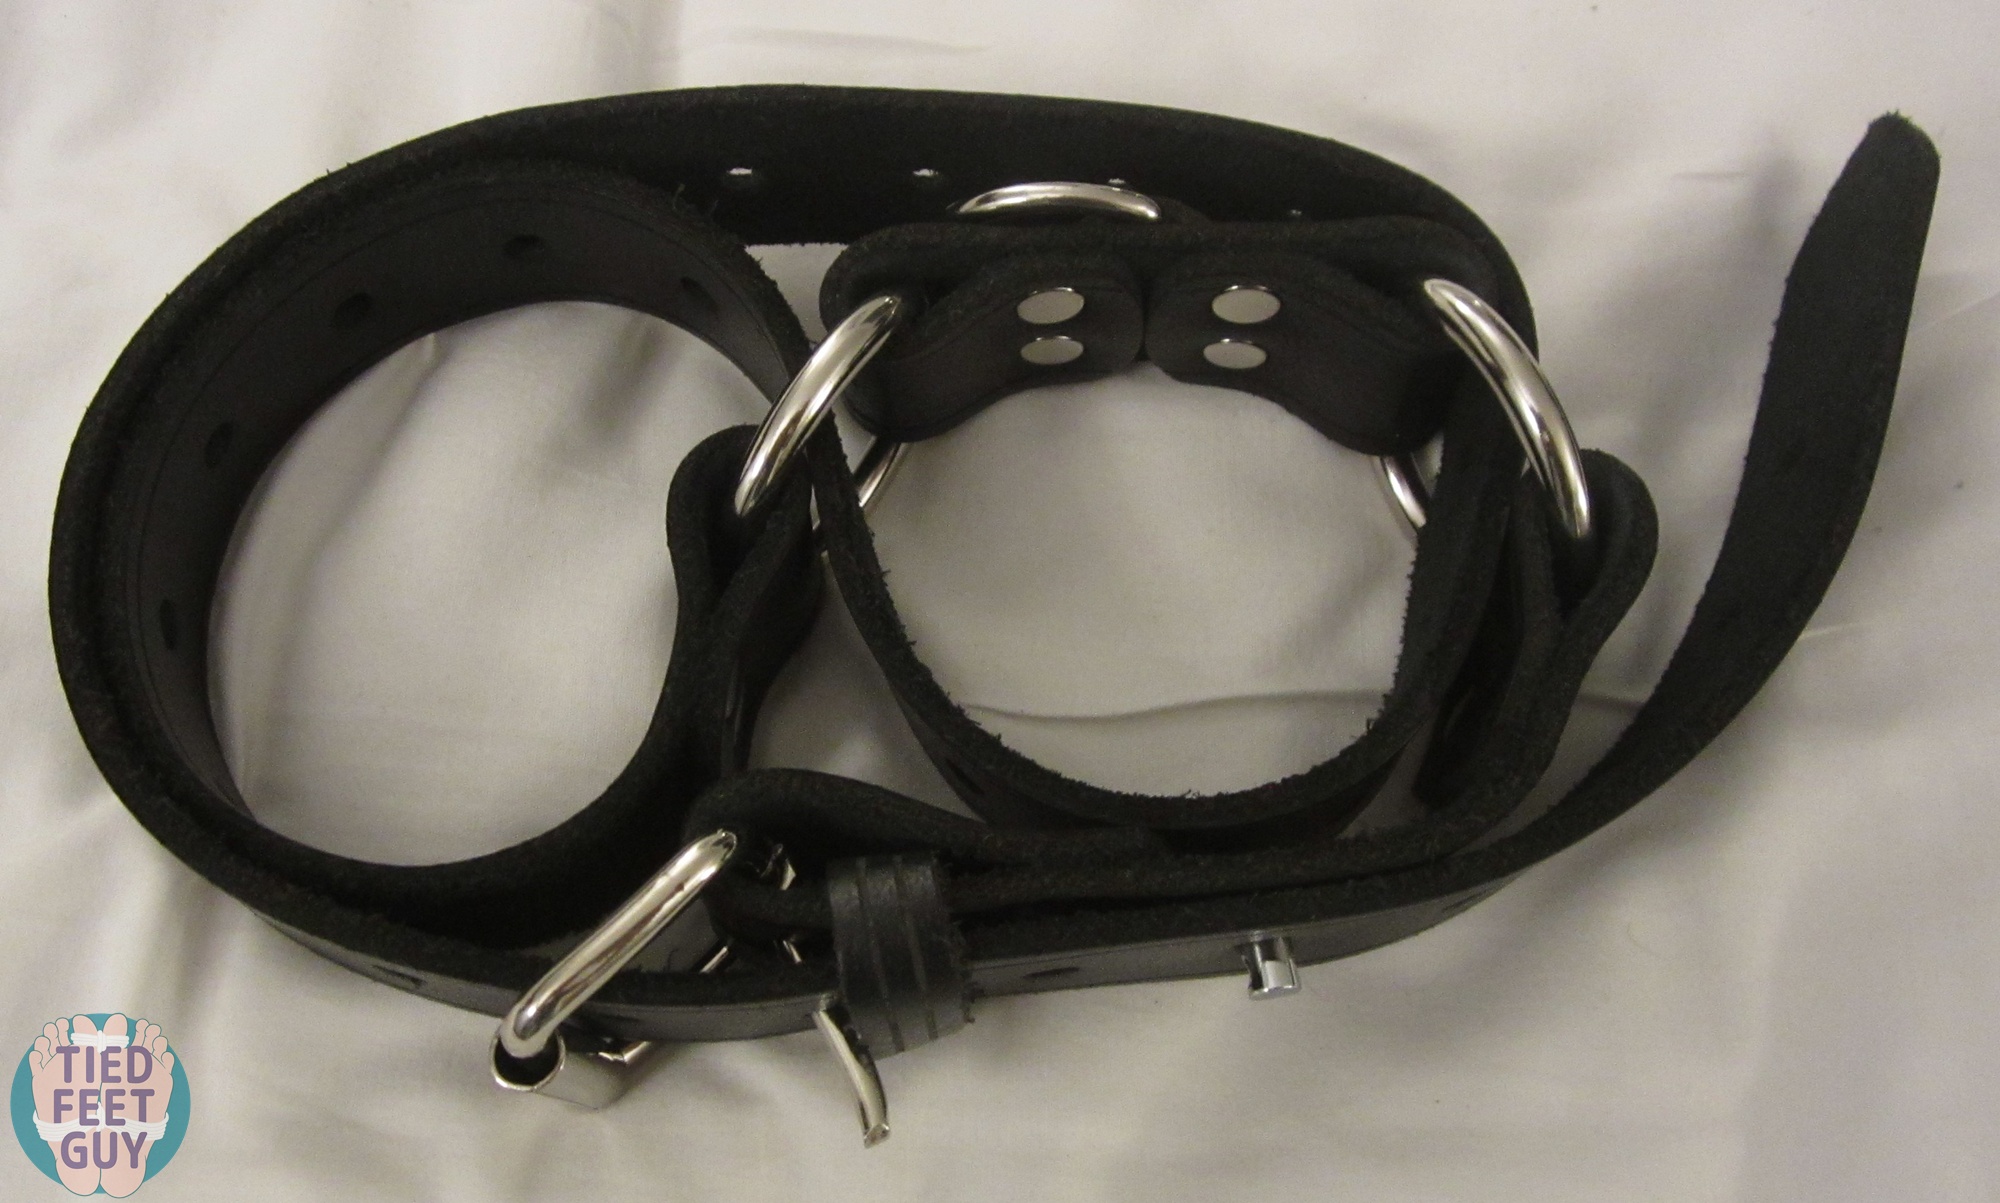
You can see how this would perfectly fit two wrists or two ankles, and once you get the hang of it, it’s very quick to do. And you don’t really need any serious rope skill to have a great looking bondage tie! Also remember that you can make one loop go through the arm of a chair, and your wrist through the other. I’ve done this before, and it was surprisingly effective, easy, and comfortable for the sub.
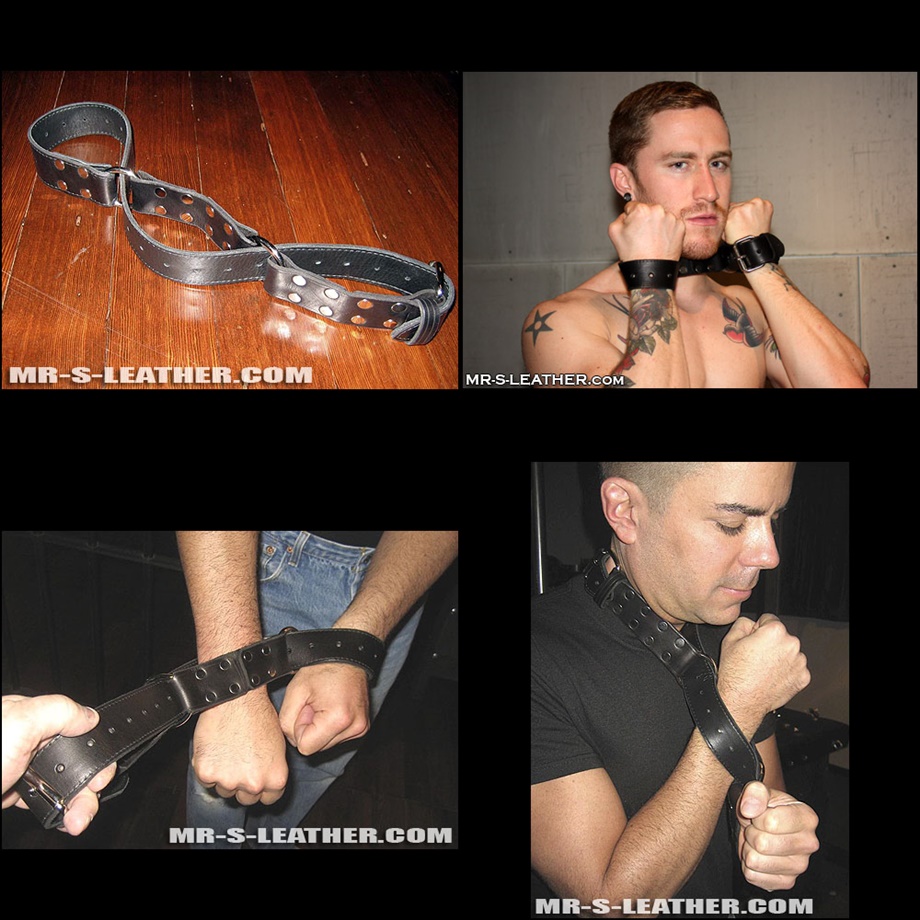
Now for a three column tie, where you have three loops to work with. Why three? The header image (reposted below) gives you a few ideas, and I’ll detail them at the end.
For a three column tie, you start with the finished side up, and loop through in a much more intuative patter, all seen below.
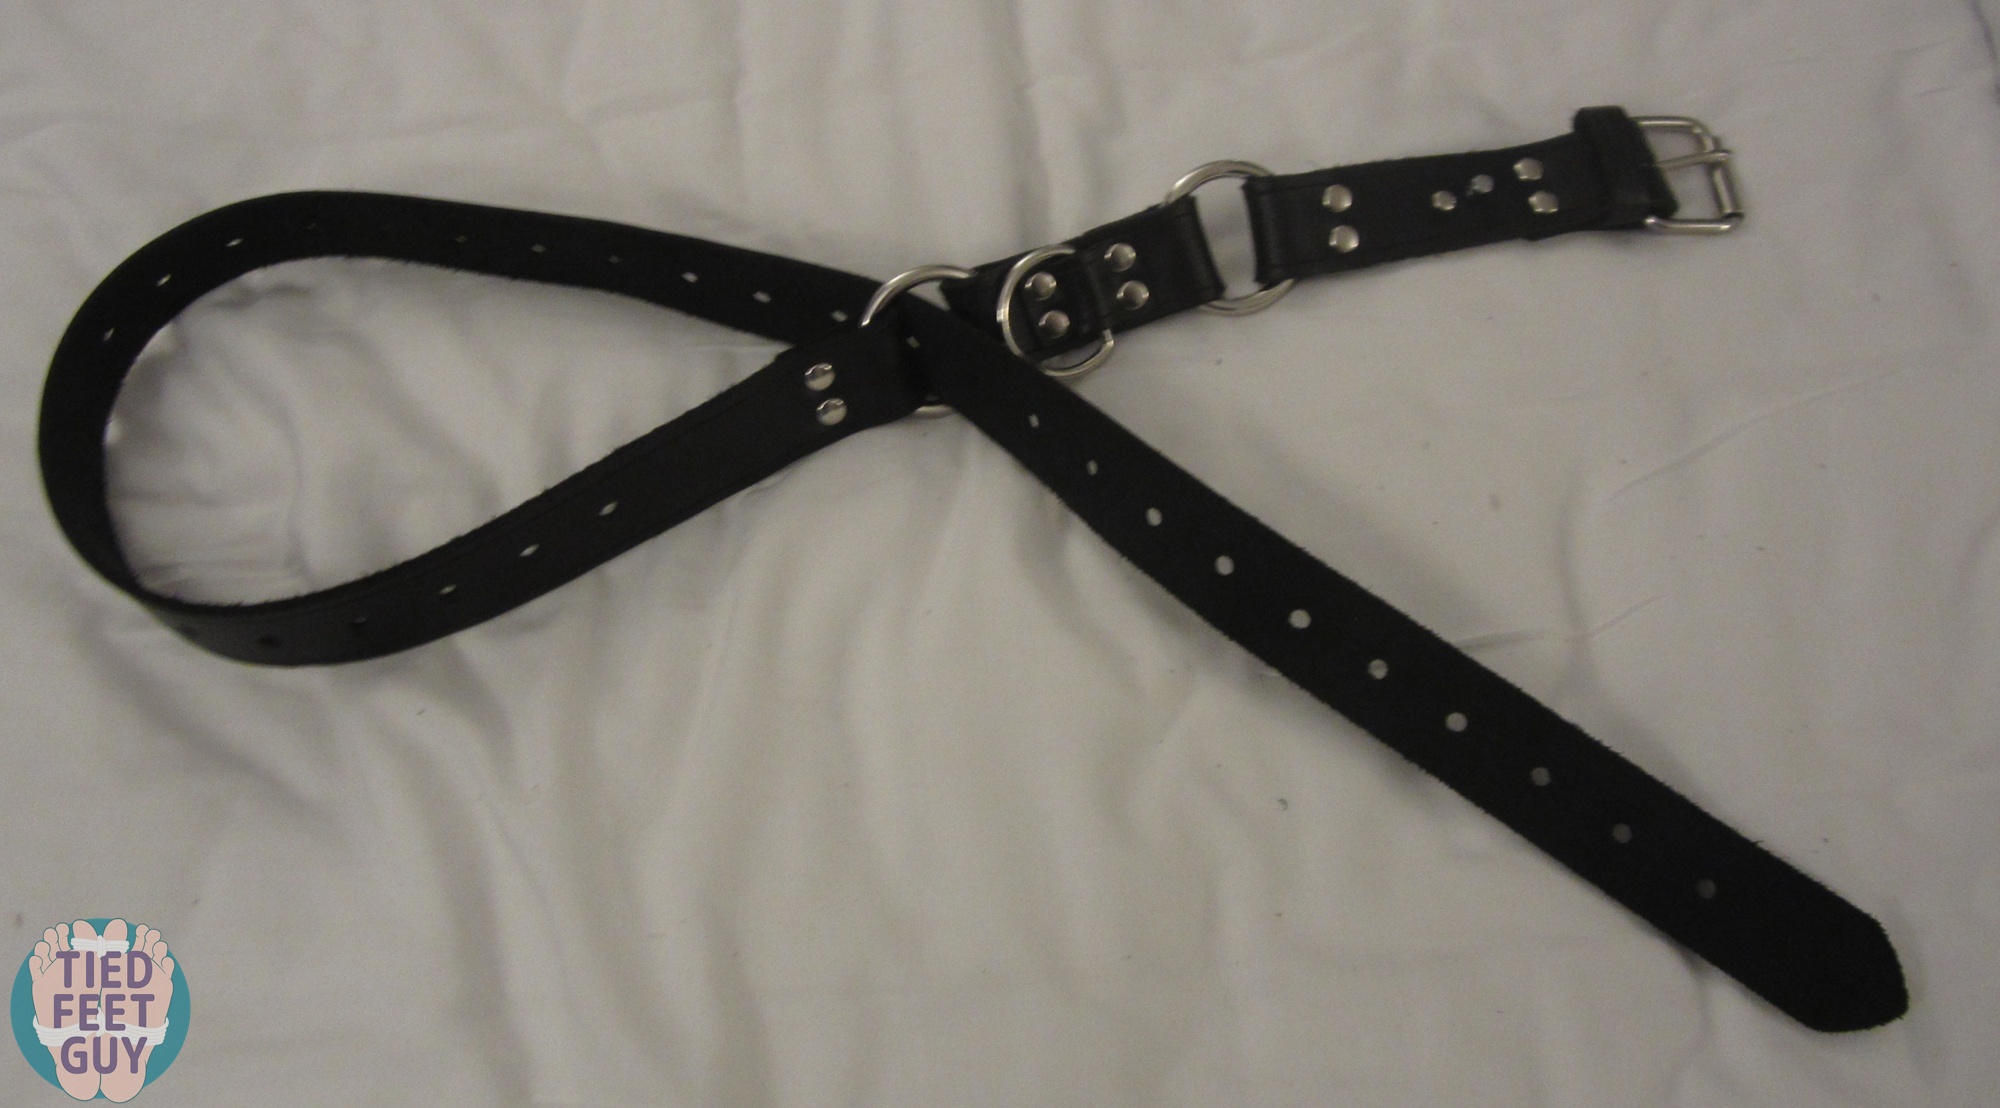
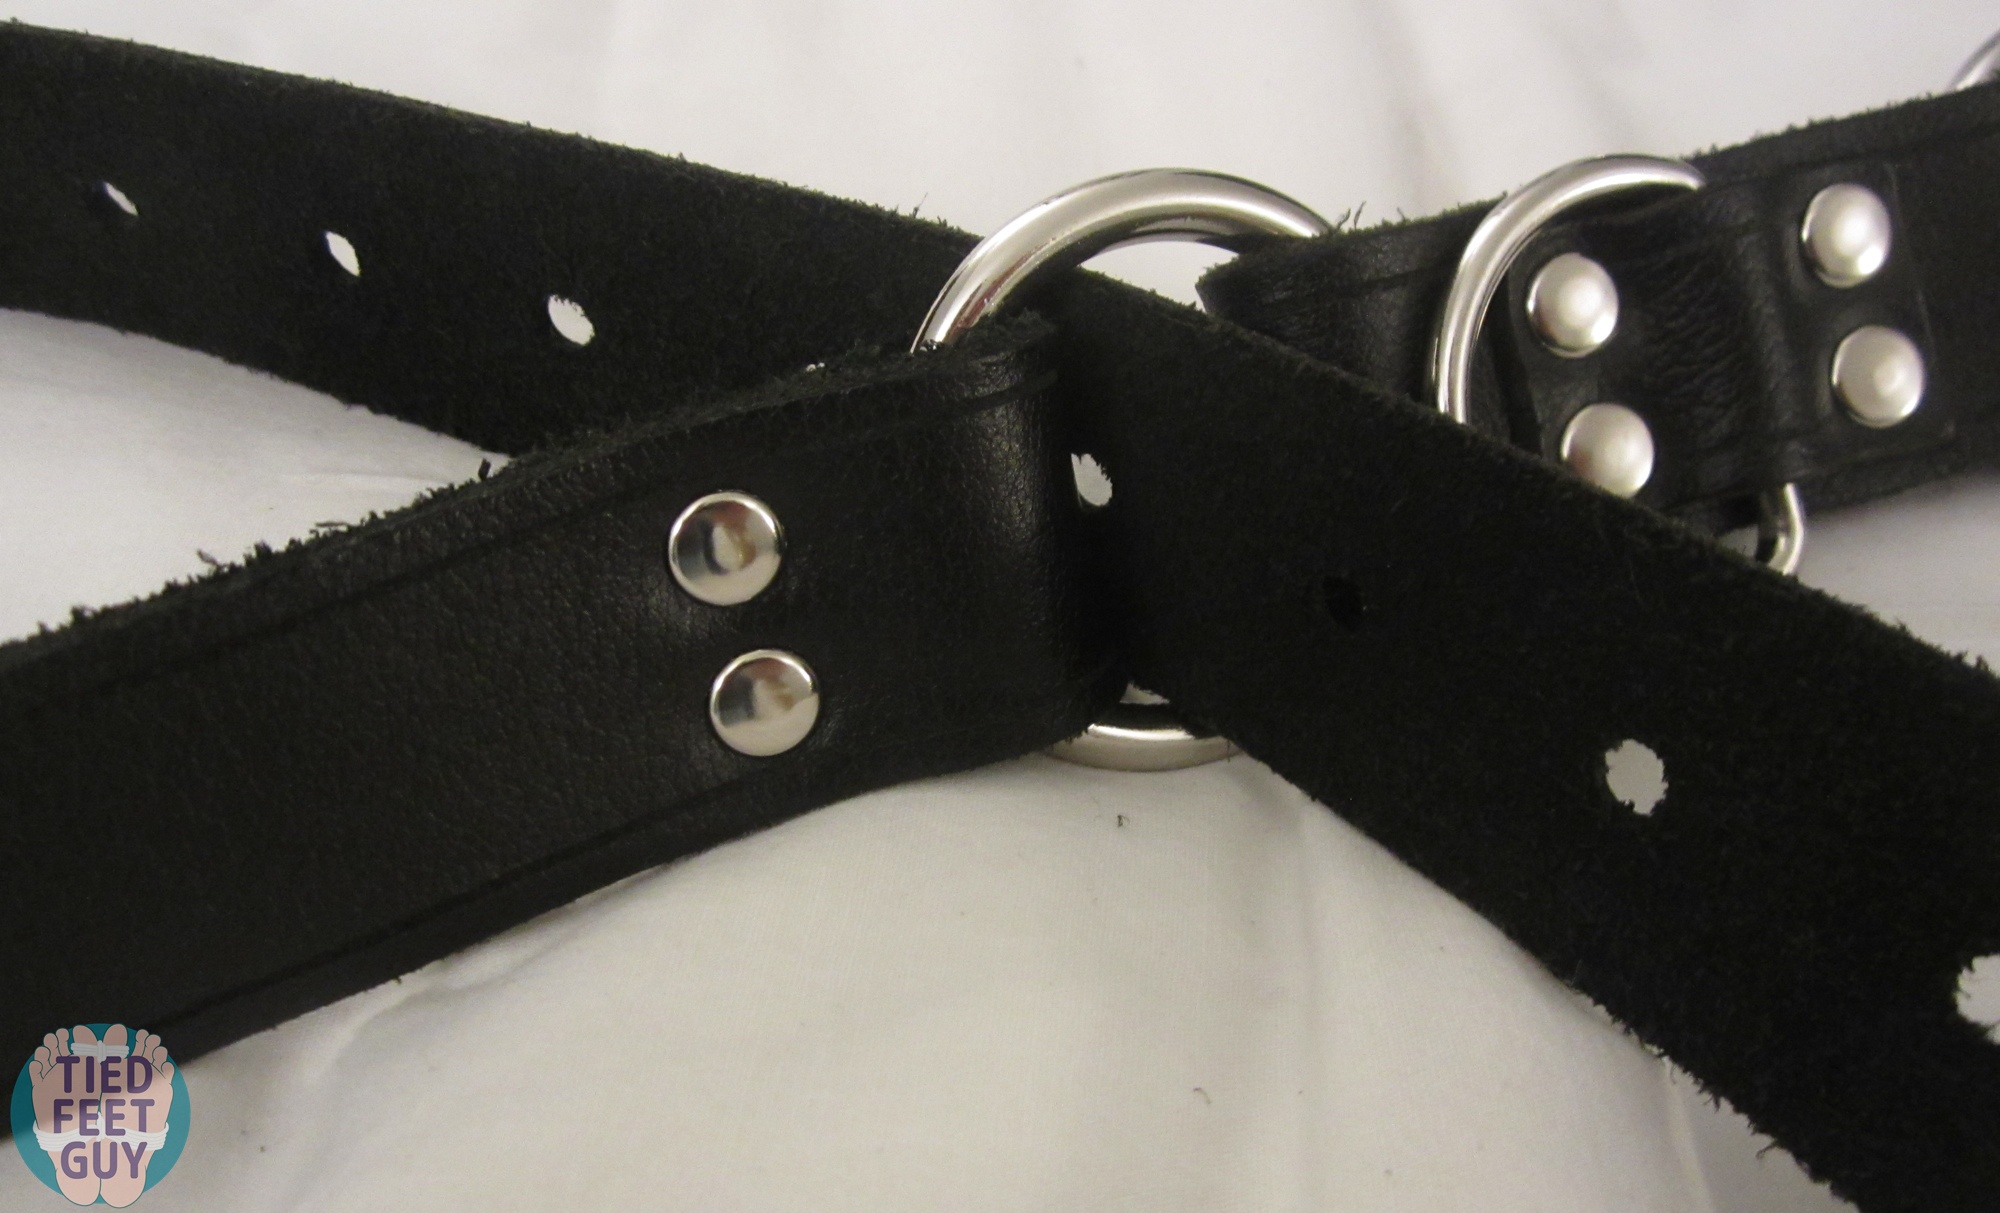
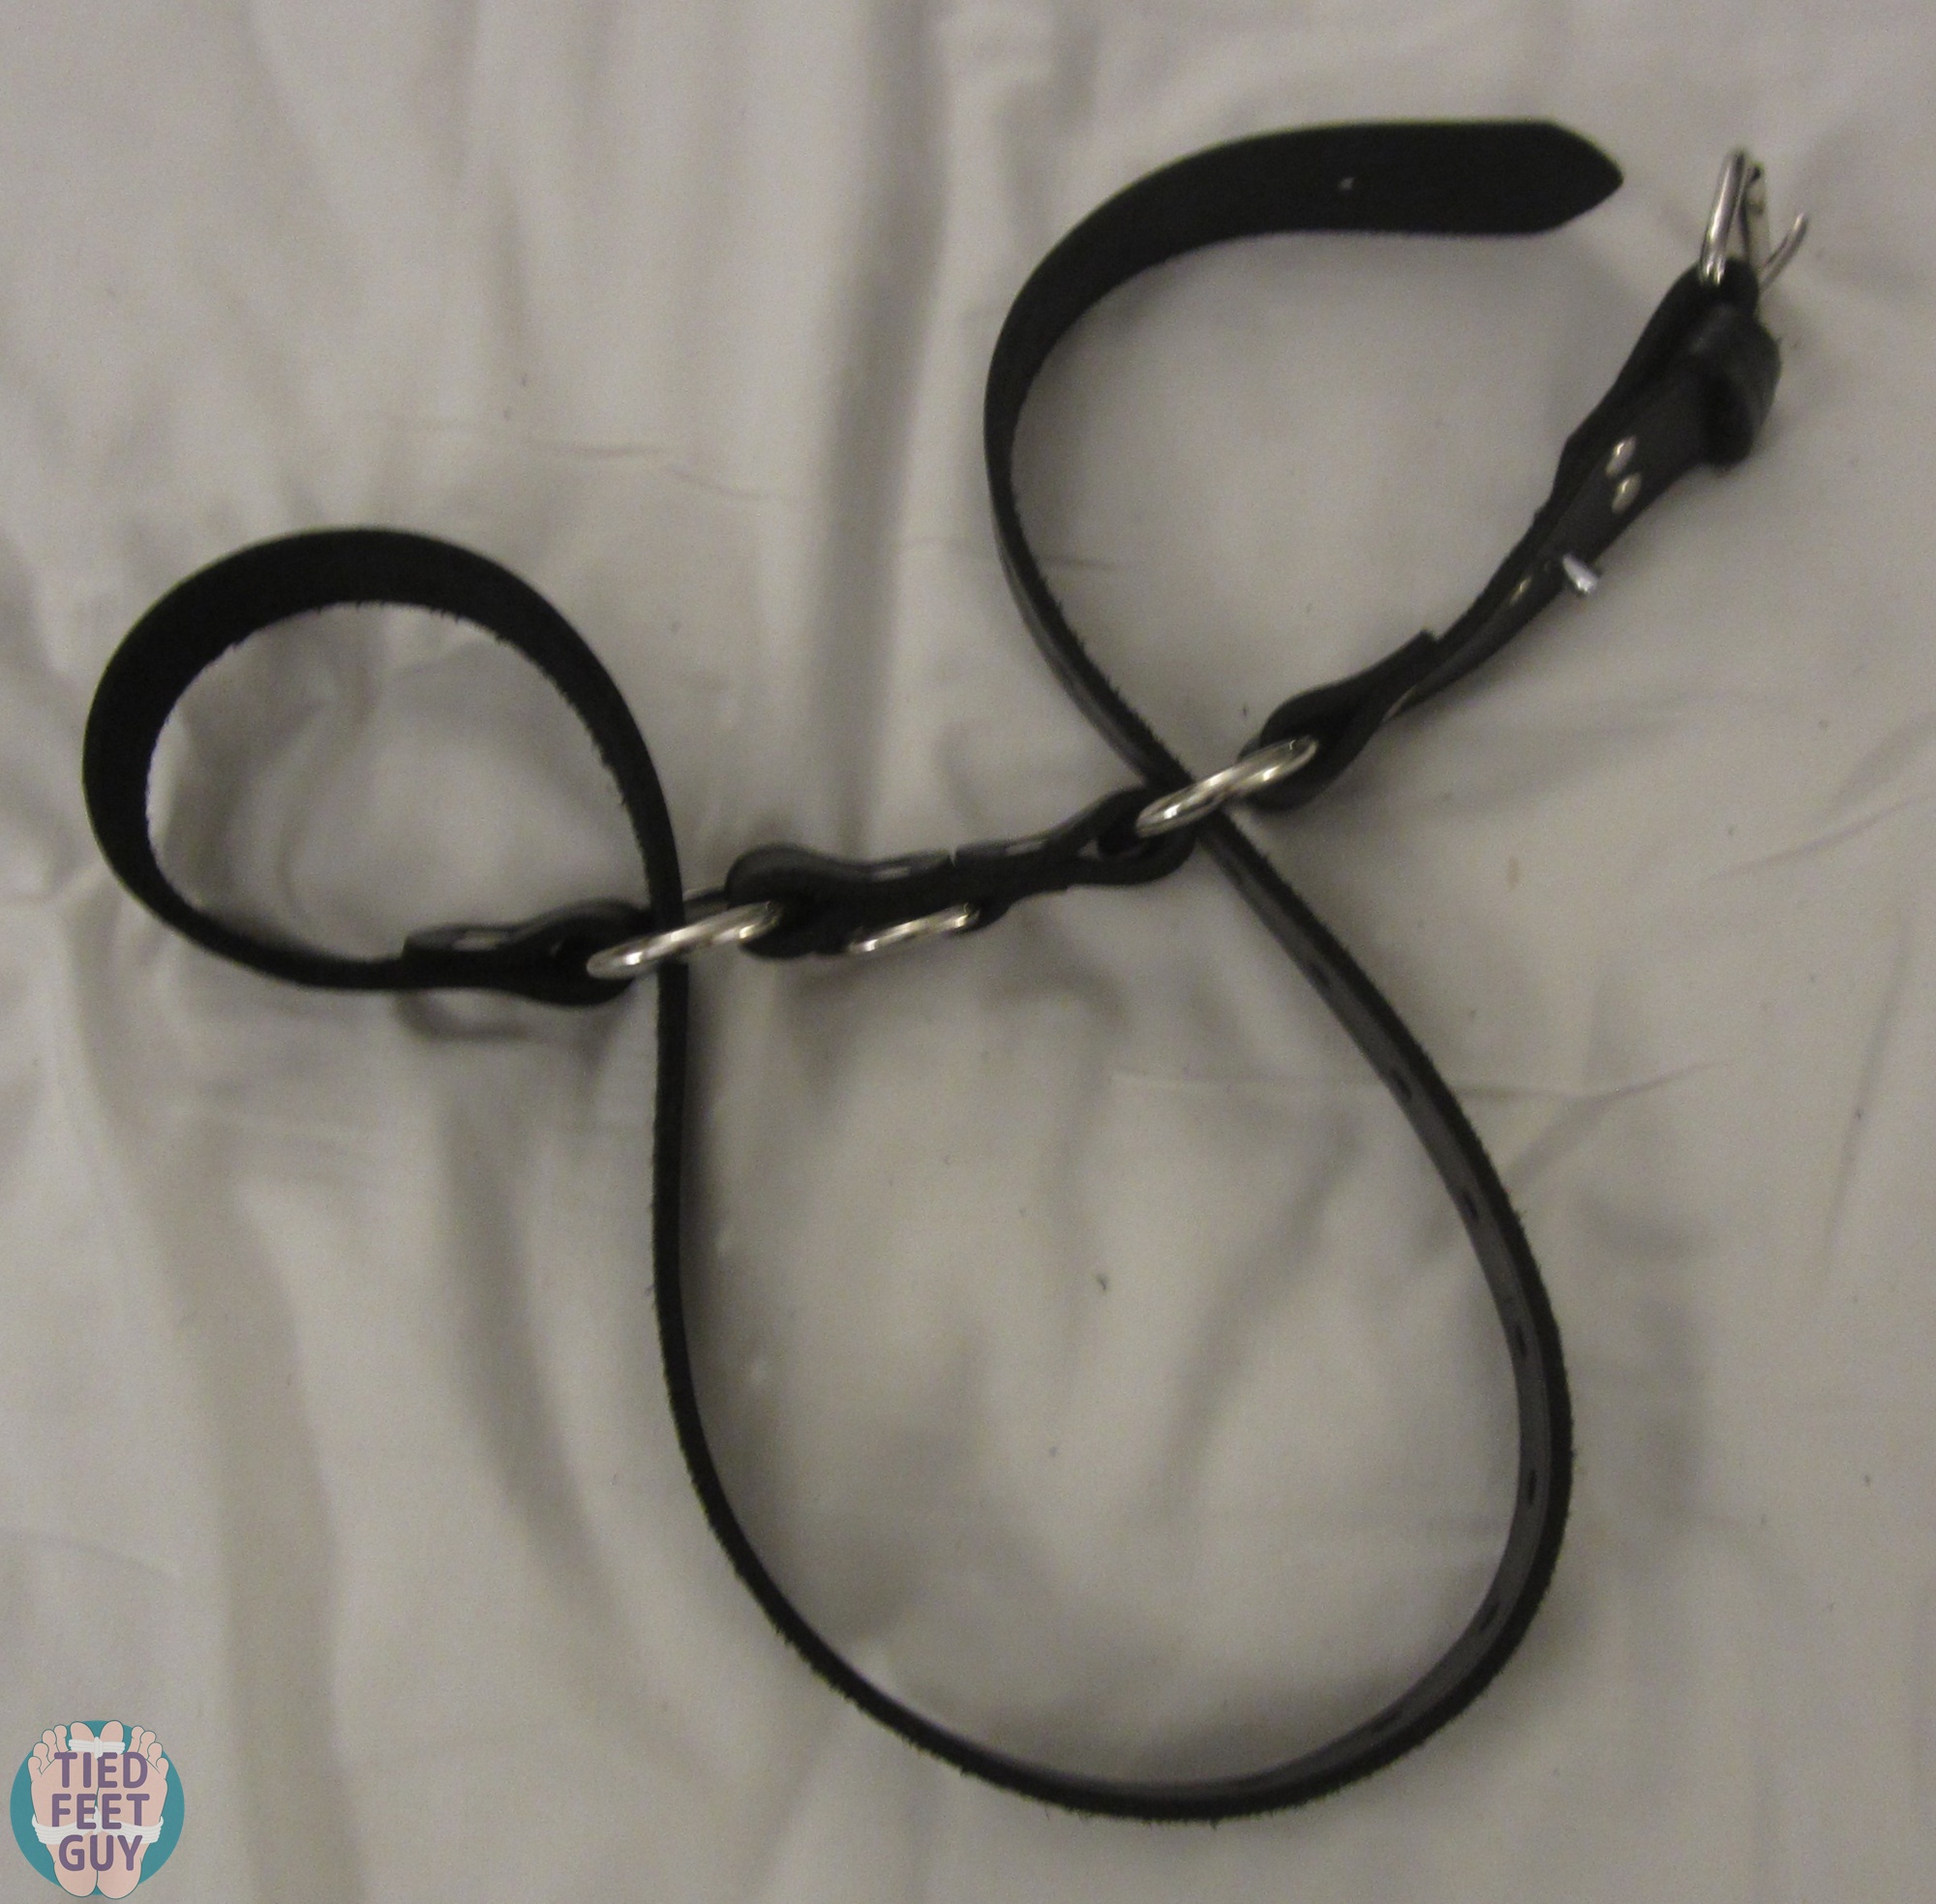
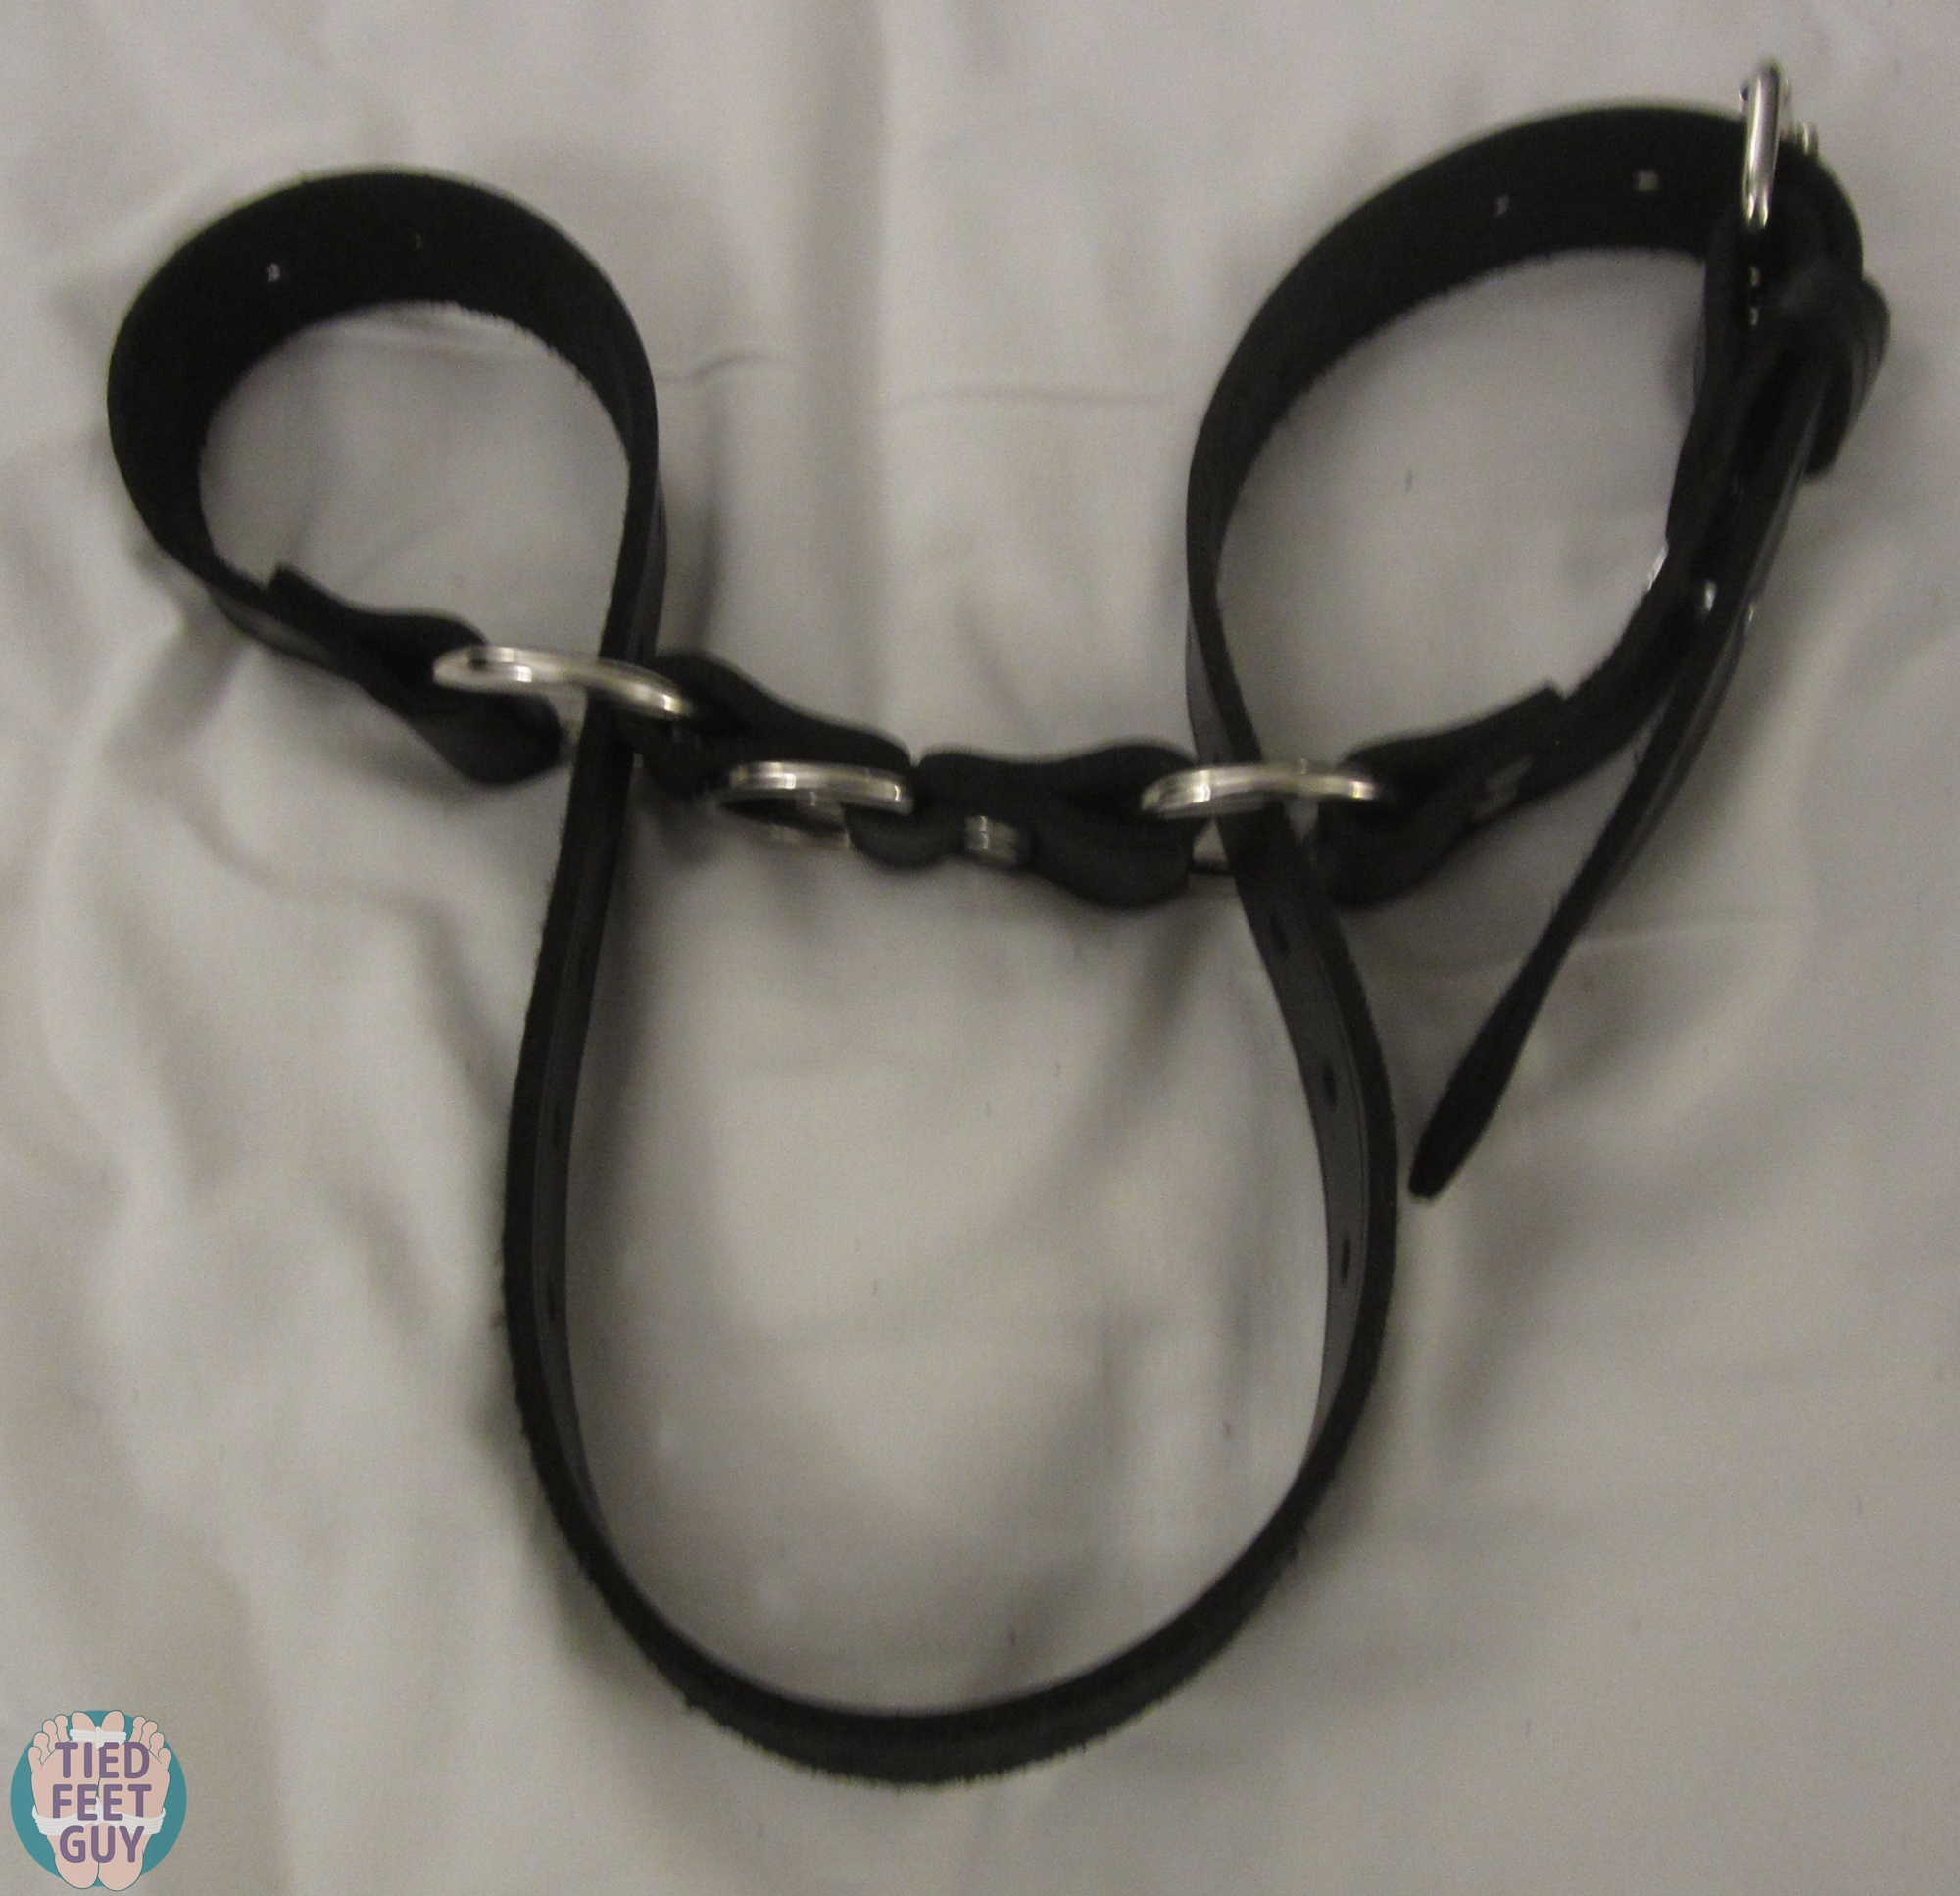
What’s the benefit to three loops? If we number the loops as such, we can break down all the uses from the header picture:
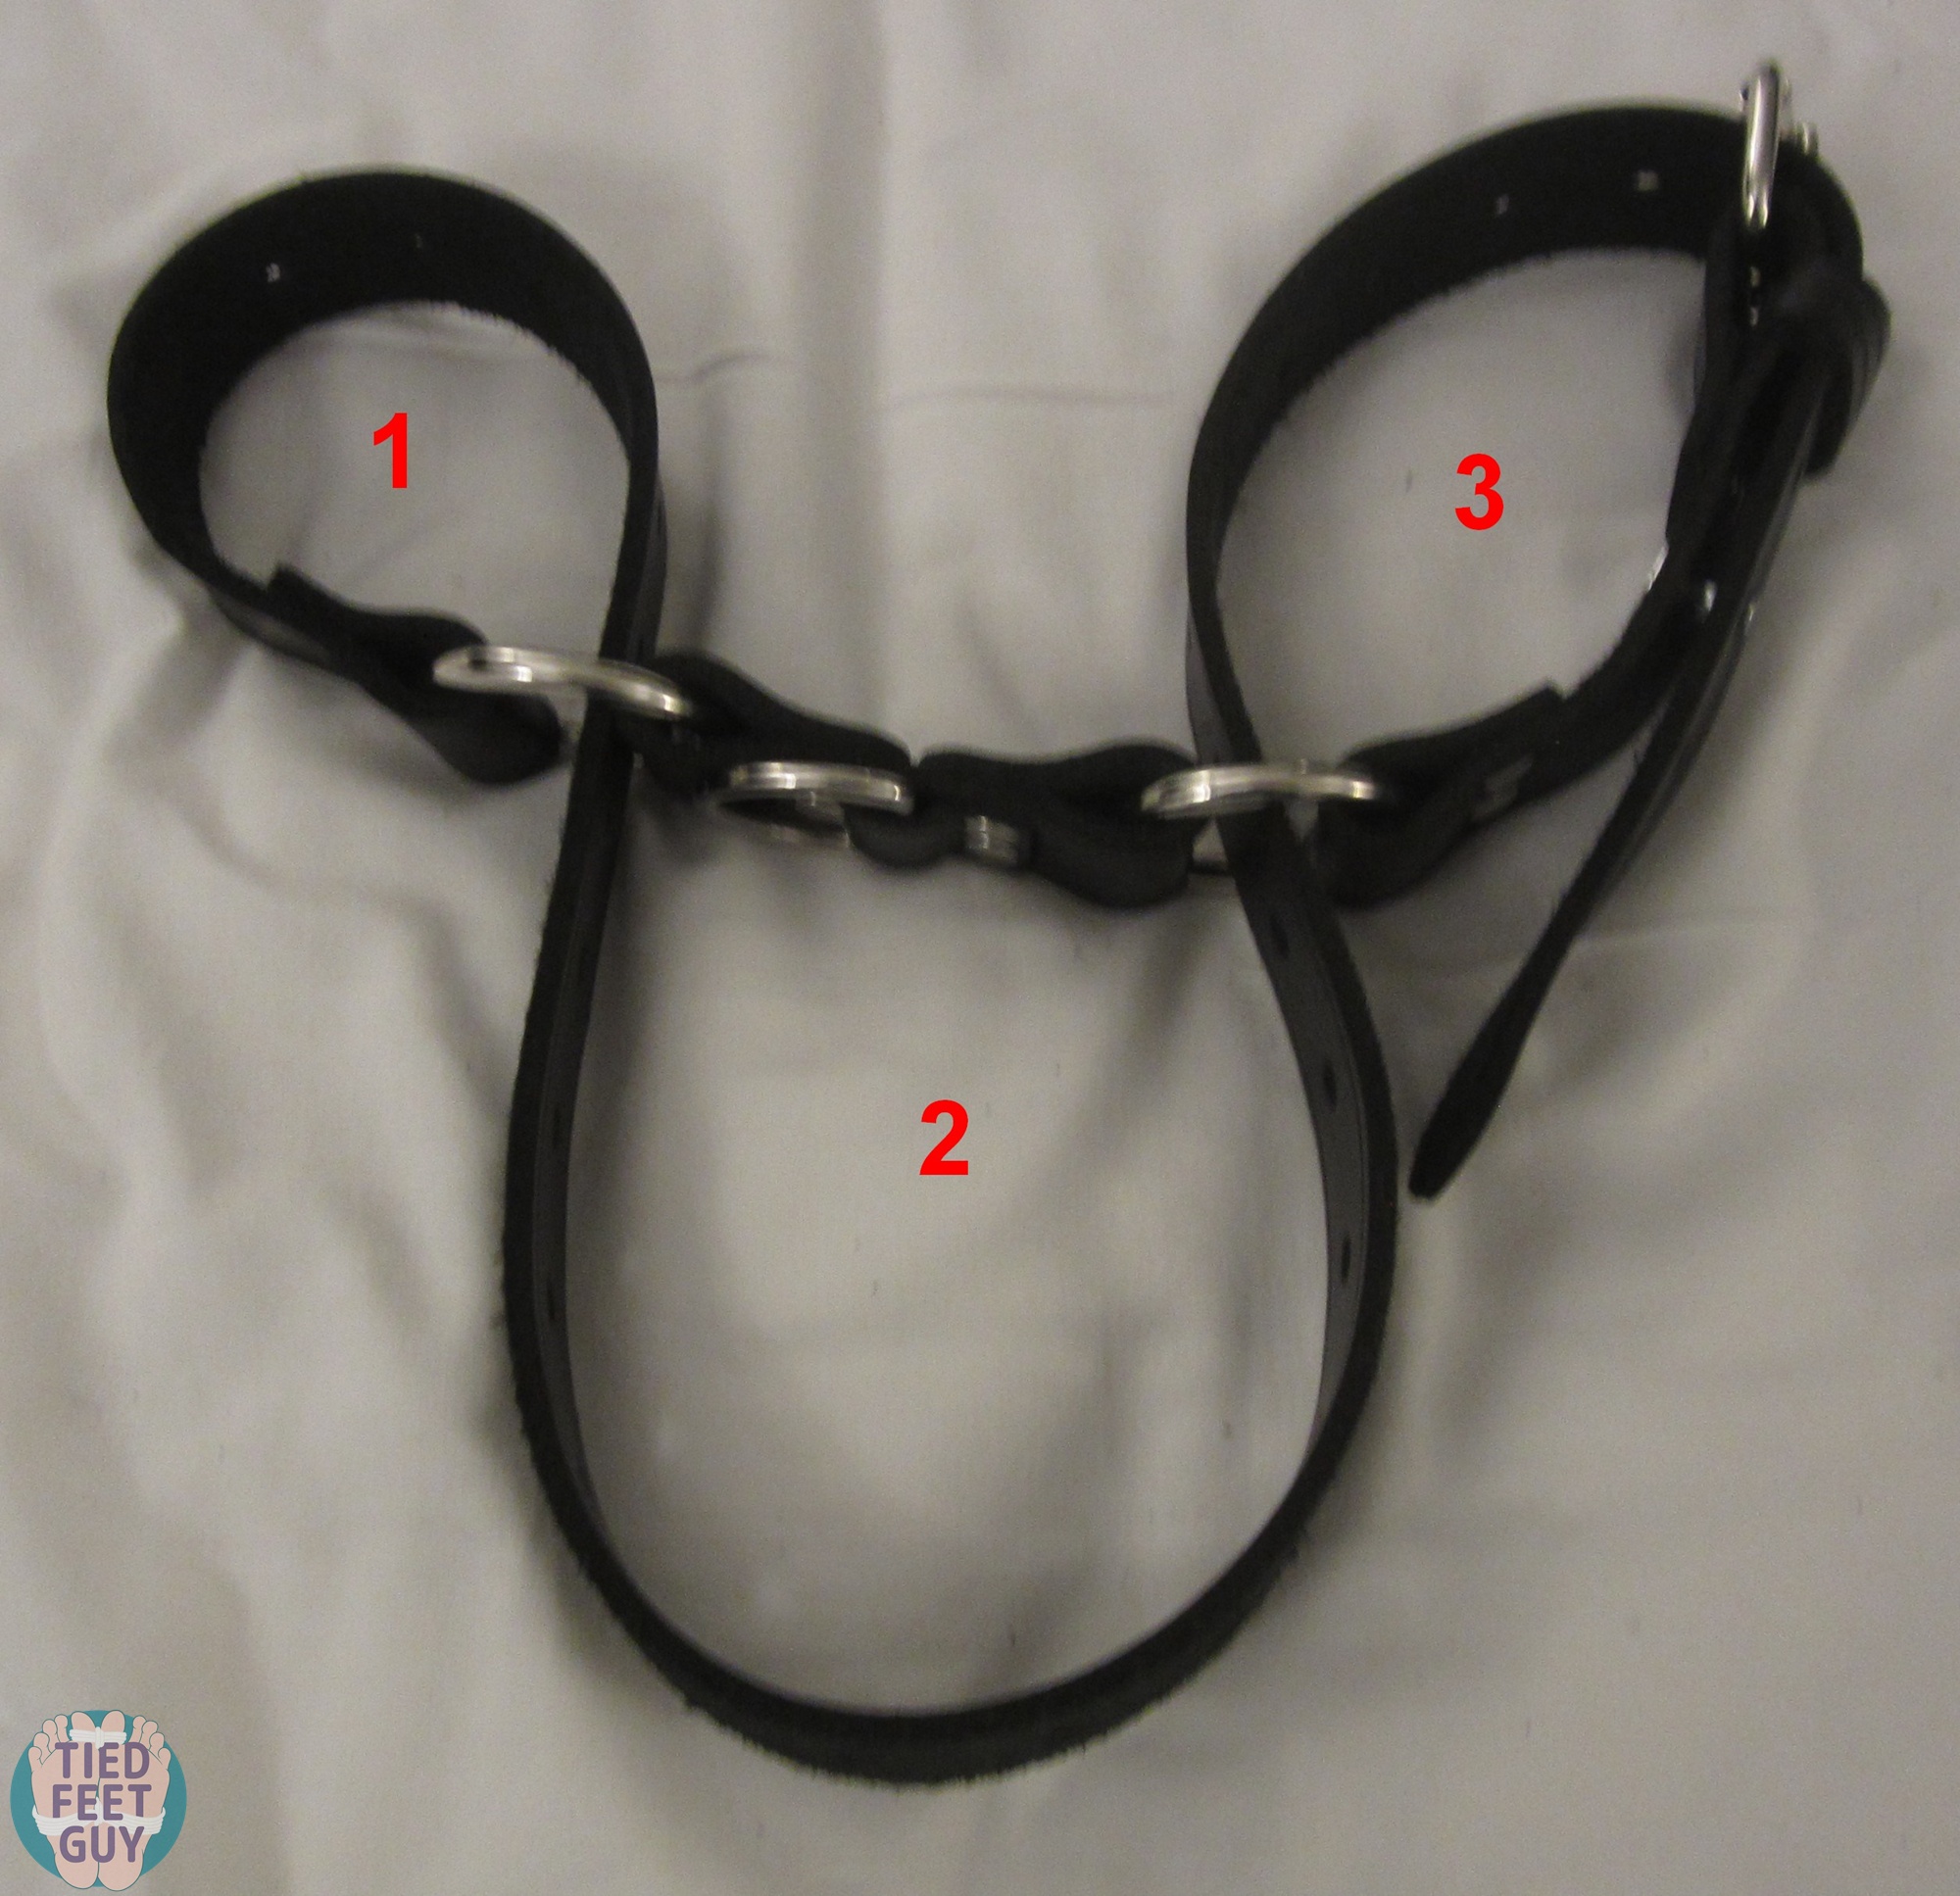
Option 1: wrists through loops 1 and 3, and neck in loop 2
Option 2: wrists through loops 1 and 2, and make loop 3 a short leash to lead around your bound sub (note you would have to keep some tension on it to keep loops 1 and 2 taut)
Option 3: wrists in loop 1 and 2, and neck in loop 3
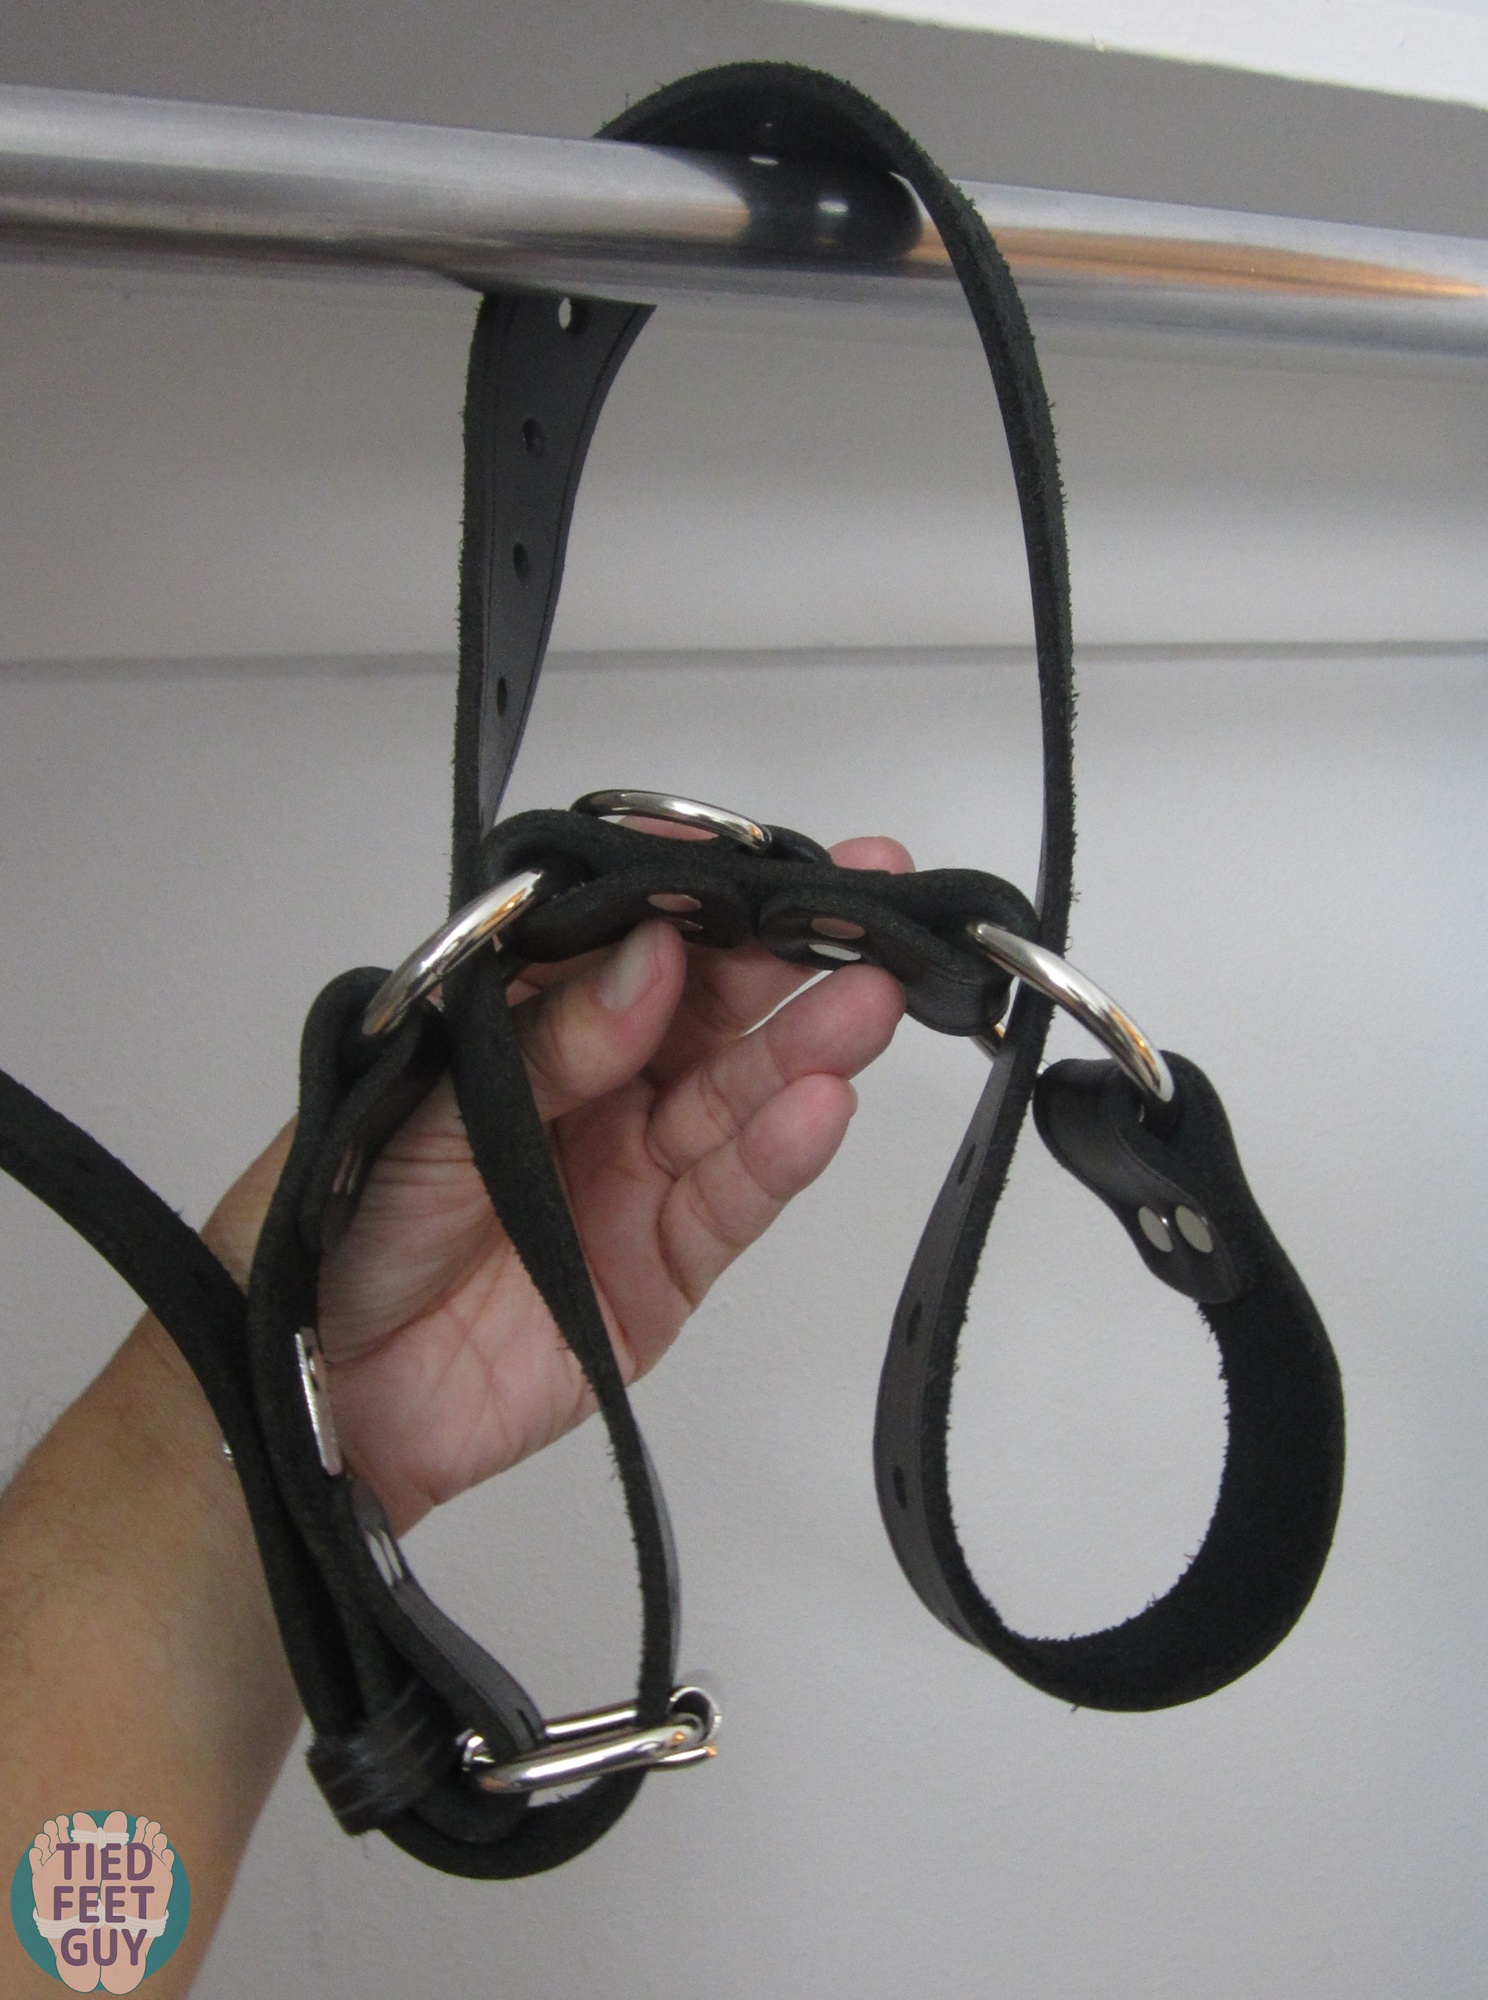
I also found my own Option 4, which I haven’t tried yet, but should work: wrists in loops 1 and 3, and loop 2 goes through a closet rod (I had to hold it up myself for the pic, as I didn’t have a model at the time). You could also do similar with Option 2, where the wrists could go through loops 1 and 2, and the closet rod in loop 3.
Last but not least, you can make a bicep binder. Once again, start with the finished side out and loop through the first ring.
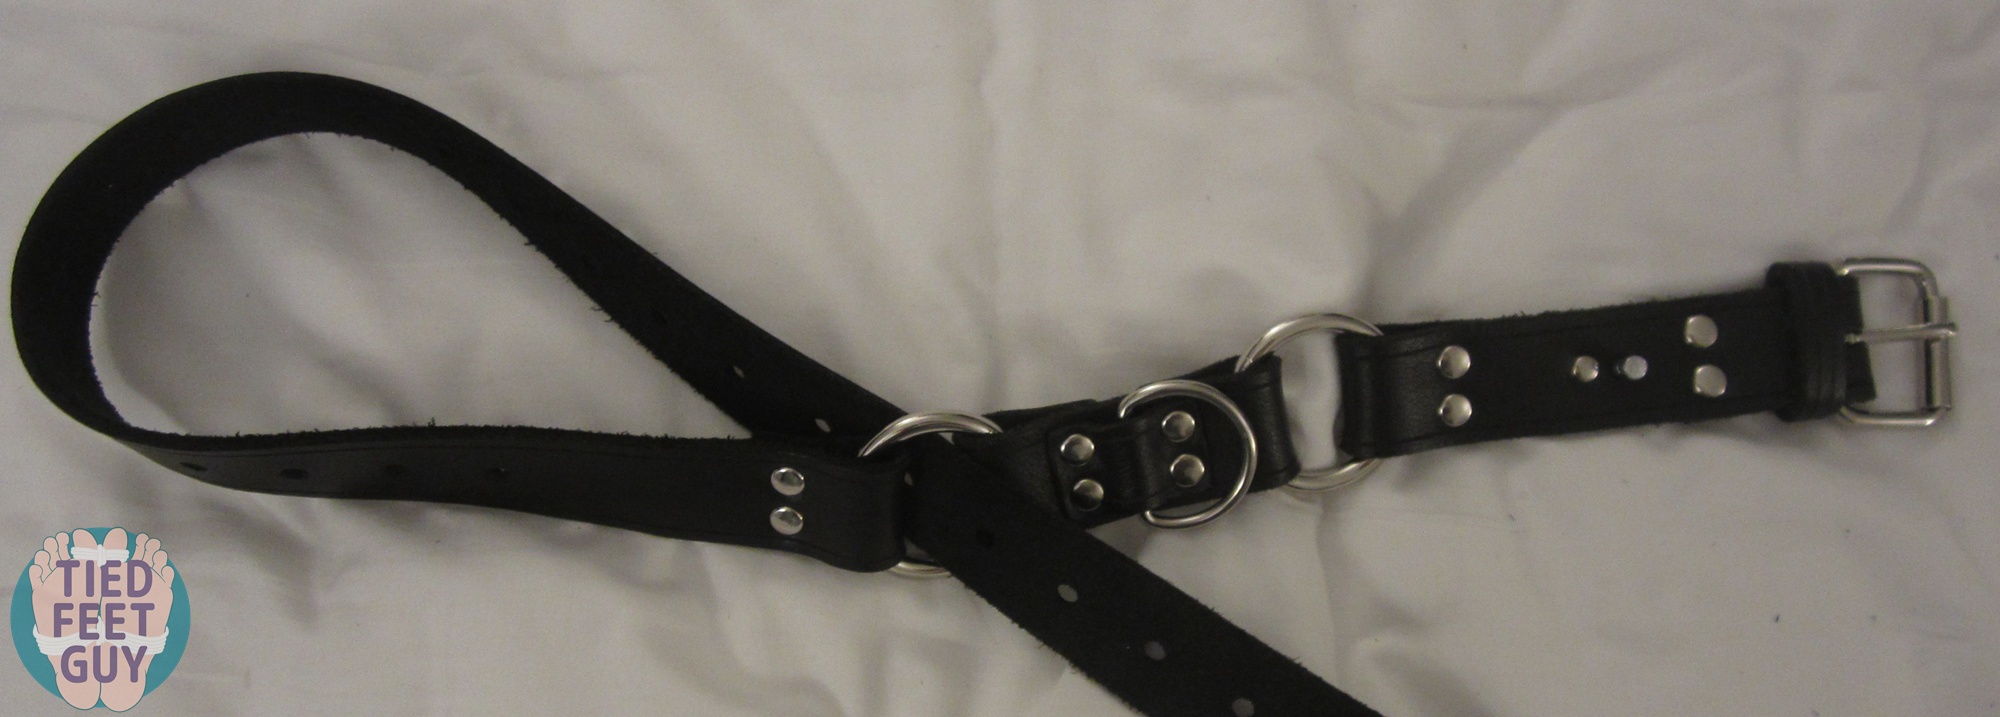
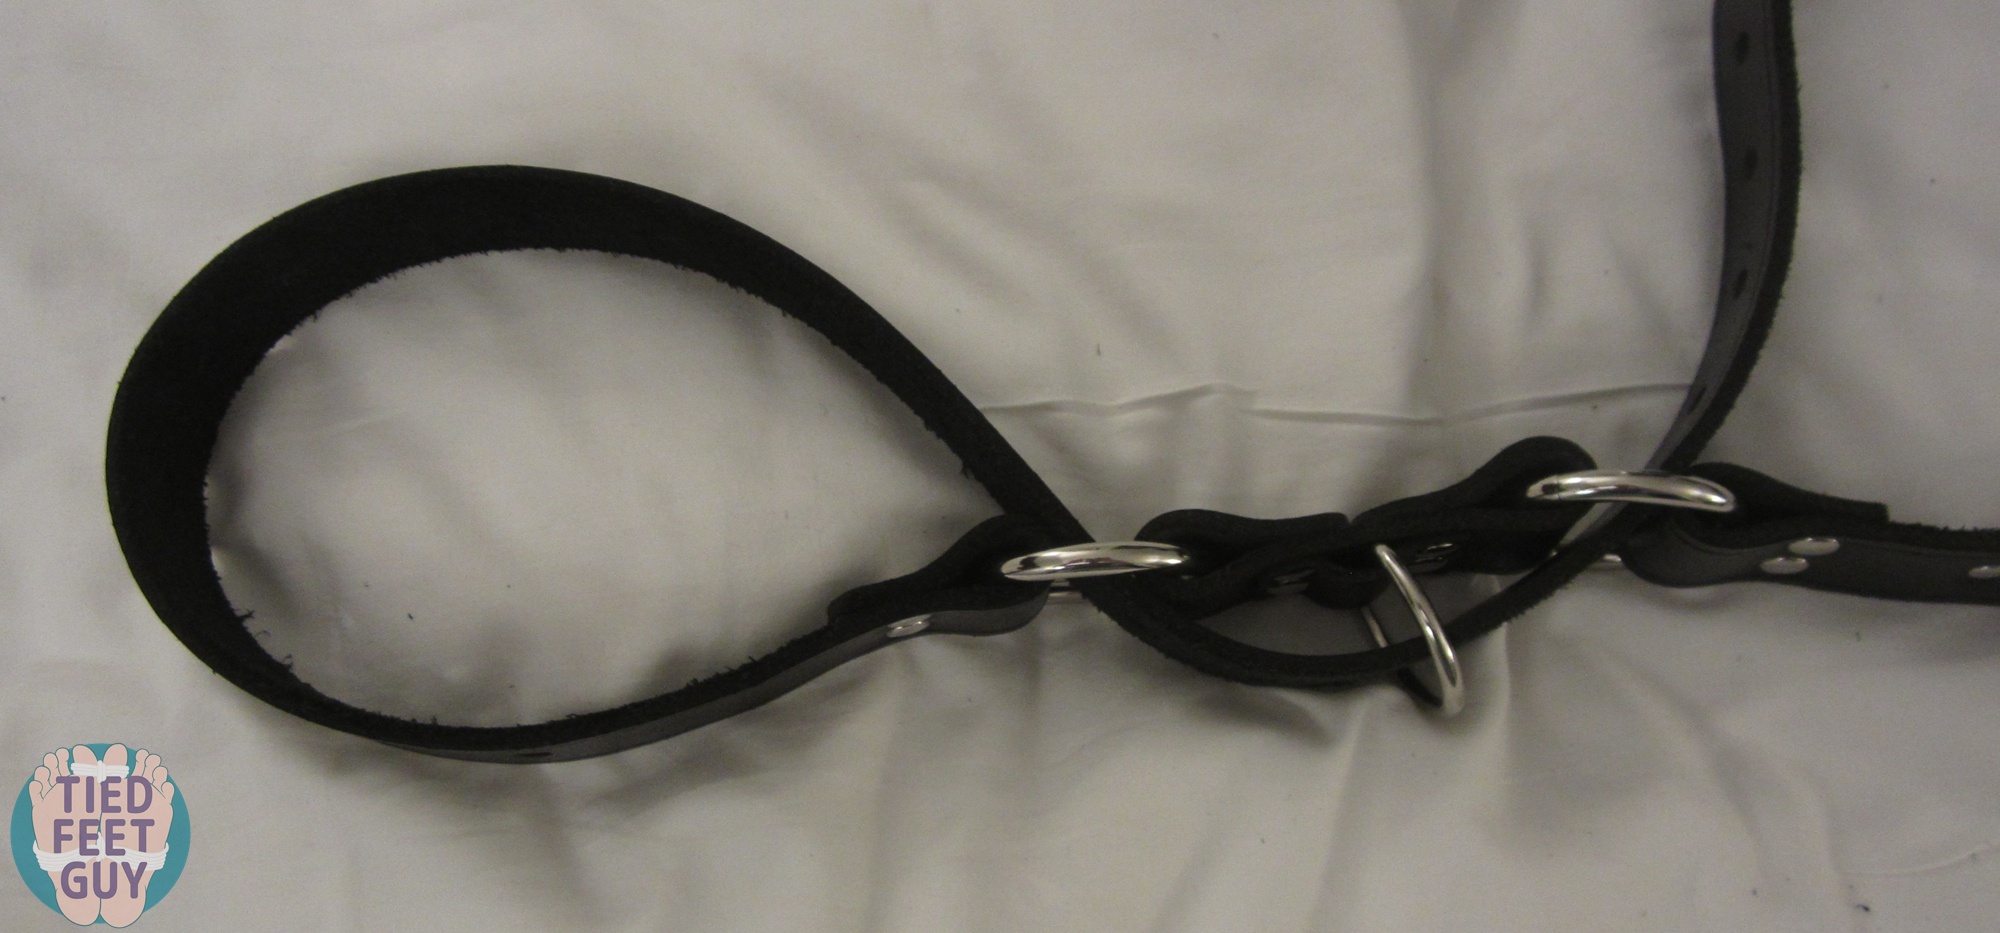
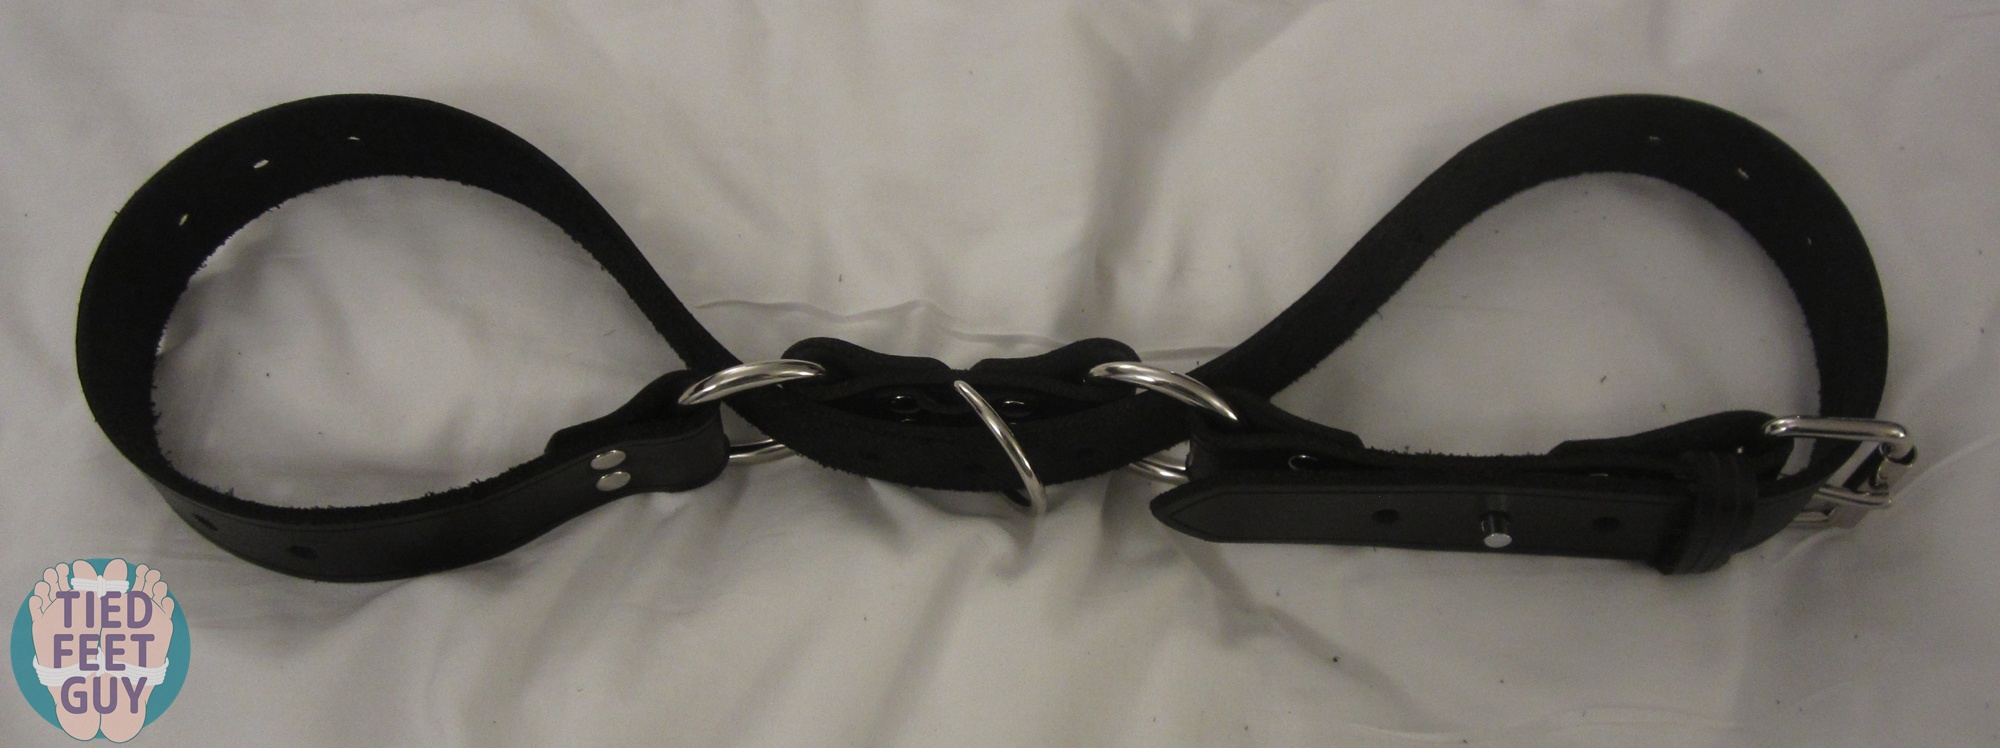
This is another good 2 column tie, but with the extra length in the middle, it makes it good for reaching two biceps together as seen below. Or, you can tighten them and attach a leash between the loops for a sort of handcuff lead. You could also easily fold this center part over a closet bar as well.

And I’m sure this doesn’t cover everything, I’m sure there are lots of other uses! If you have some of your favorites (even if they were already covered here), send in your pics to me, and let me know if I can post them for a follow up post sometime in the future!
In the meantime, you can see why it could be advantageous to have two separate pairs of belts, so you can have one for ankles and one for wrists. You could even get a third (or just use rope) and some bound wrists and ankles into a hogtie… even if you don’t have great ropework skills! In light of all these possiblities,